Statue in Minecraft: Epic Building Guides
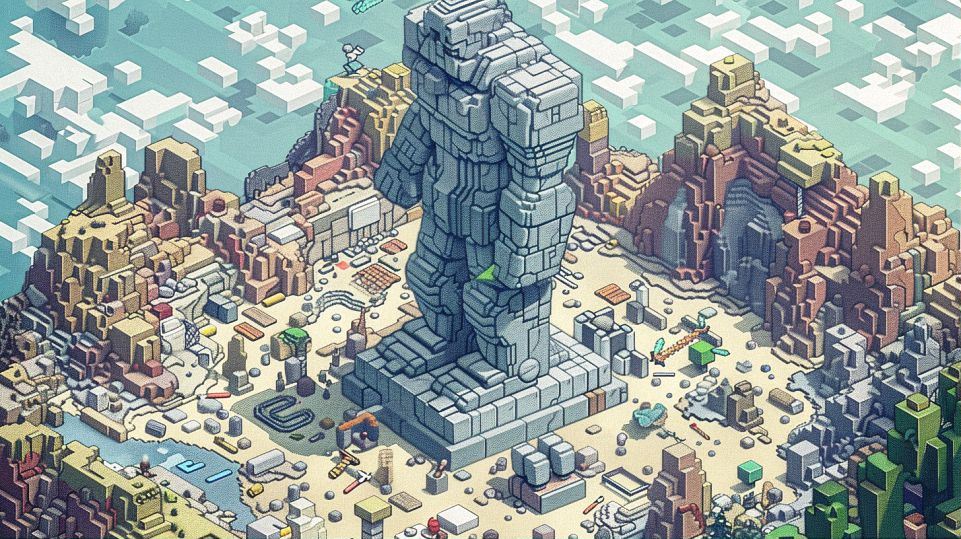
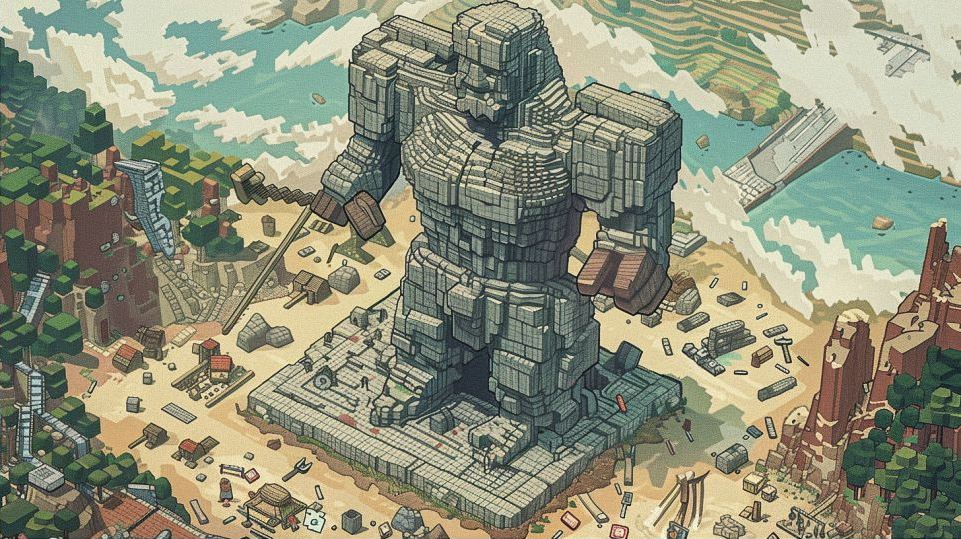
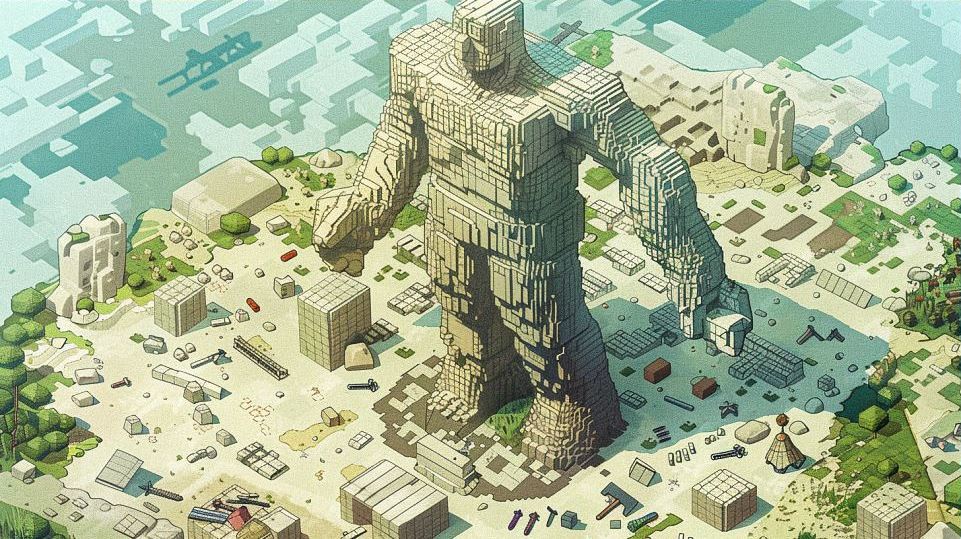
Building Iconic Statues in Minecraft
How to Choose a Theme for Your Minecraft Statue
Choosing a theme for your statue in Minecraft is the first step to creating something truly spectacular. With endless possibilities, how do you decide? Start by thinking about what excites you. Do you love ancient history? Maybe a statue of Zeus or the Great Sphinx would be up your alley. Are you a fan of superheroes? Then a towering Batman or Spiderman could be your next project.
Contents
ToggleConsider what would fit well in your Minecraft world. If you’ve built a medieval kingdom, a dragon or knight statue would complement your theme. For futuristic settings, think about robots or space explorers. Don’t forget to consider the scale of your statue. Larger statues can be more impressive, but they also require more time and resources. On the other hand, smaller statues can add charm without overwhelming your landscape.
Finally, look for inspiration in real life. Famous monuments like the Statue of Liberty, the Eiffel Tower, or even whimsical characters from your favorite movies and games can all serve as fantastic themes. Just remember, the theme should reflect your interests and enhance your Minecraft world.
Best Materials for Creating Realistic Statues
When it comes to building statues in Minecraft, the materials you choose can make a huge difference in the final look. Let’s talk about the best options to bring your statue to life.
Stone and Stone Bricks: These are classic choices for creating realistic statues. Stone has a smooth, neutral appearance that can be used to mimic marble or granite, making it perfect for historic or grand statues. Stone bricks add texture and detail, giving your statue a more refined look.
Terracotta and Glazed Terracotta: Available in a variety of colors, terracotta can be used to add vibrant hues to your statue. Whether you’re building a colorful superhero or a lively animal, terracotta helps you achieve the exact shade you need.
Concrete: This material offers bright and solid colors, perfect for modern or abstract statues. Concrete blocks are especially useful for creating statues with clean lines and bold designs.
Wool and Dye: For softer textures and additional color options, wool is a great choice. By dyeing wool, you can customize the colors to suit your statue’s theme, from bright primary colors to subtle pastels.
Quartz: For an elegant, polished look, quartz is unmatched. It’s ideal for creating statues that need a sleek, sophisticated appearance, like angels or mythical creatures.
Tips for Scaling and Proportion in Minecraft Builds
Creating a statue in Minecraft is all about getting the proportions right. Here are some tips to ensure your statue looks just right.
Start with a Plan: Before you place a single block, plan your statue. Sketch it out on paper or use a pixel art generator to visualize the proportions. This helps you understand the overall shape and scale.
Use Reference Points: Break down your statue into basic shapes, like cubes and cylinders, and use these as reference points. For example, if you’re building a human figure, start with a block for the head, then work down to the torso and limbs, ensuring each part is in proportion.
Build in Layers: Construct your statue layer by layer. This approach allows you to make adjustments as you go, ensuring that each part of the statue is proportional to the rest. It’s much easier to correct mistakes one layer at a time than to rebuild entire sections.
Step Back and Review: Regularly step back and look at your statue from a distance. This helps you see the overall proportions and make necessary adjustments. Sometimes, what looks good up close might not look right from afar.
Use Scaffolding: Use scaffolding to reach higher parts of your statue easily. This not only makes the building process more efficient but also allows you to see your statue from different angles, ensuring proportional accuracy.
Building iconic statues in Minecraft is a blend of creativity and precision. By choosing the right theme, using the best materials, and focusing on scale and proportion, you can create statues that are not only impressive but also seamlessly integrate into your Minecraft world. Happy building!
Step-by-Step Guide to Crafting Famous Statues
Constructing the Statue of Liberty
Building the Statue of Liberty in Minecraft is an exciting project that requires planning, patience, and precision. Here’s how to get started:
1. Gather Your Materials: For Lady Liberty, you’ll need materials that capture her iconic look. Use emerald blocks or green terracotta for the statue itself to replicate the oxidized copper. For the pedestal, stone bricks or smooth stone work well to mimic the real-life granite base.
2. Base and Pedestal: Start with the pedestal. Make a large square base using stone bricks, approximately 10×10 blocks. Build up to around 10 blocks high to give it the grandeur it needs. Add details like arches and steps with slabs and stairs to make it more realistic.
3. Building Lady Liberty: Once the pedestal is complete, it’s time to build the statue. Begin with her feet, positioned in the center of the pedestal. Build up layer by layer, gradually expanding outwards to form the flowing robes. Keep her proportions accurate by referring to images or models.
4. The Torch and Crown: The torch and crown are the Statue of Liberty’s most recognizable features. Use glowstone or sea lanterns for the torch flame. For the crown, use gold blocks or yellow concrete to stand out. Be sure to add the spikes using fence posts or iron bars.
5. Finishing Touches: Add fine details to enhance realism. You can use iron bars for the tablet in her left hand and additional blocks to create the folds in her robe. Step back often to check your work from a distance, ensuring the proportions look right.
Building the Eiffel Tower: A Detailed Guide
Constructing the Eiffel Tower in Minecraft is a challenging but rewarding endeavor. Let’s break it down step-by-step:
1. Material Collection: Gather materials that mimic the iron lattice structure. Use iron blocks, iron bars, and dark gray concrete to give your tower an authentic look.
2. Building the Base: The base of the Eiffel Tower is wide and sturdy. Start with a large square base, roughly 20×20 blocks. Build four massive legs at the corners, each extending upwards and narrowing as they rise. Connect these legs with diagonal beams to form the lower arches.
3. Middle Section: The Eiffel Tower narrows as it goes up. Create the first observation deck about 40 blocks high, using slabs and fences to give the impression of railings. From here, the structure should start tapering inward. Add intricate details with iron bars and fences to replicate the lattice design.
4. Top Section: Continue building upwards, adding another smaller observation deck about halfway up. The tower’s spire should be slender and tall, ending in a small platform. Use glowstone or sea lanterns at the top to mimic the lights often seen on the Eiffel Tower at night.
5. Details and Lighting: The beauty of the Eiffel Tower lies in its details. Use iron bars and fence posts to add crossbeams and railings. Lighting is crucial, so place glowstone or lanterns strategically to highlight the structure’s elegance.
Recreating the Great Sphinx of Giza in Minecraft
Recreating the Great Sphinx of Giza in Minecraft is a fascinating project that combines history and creativity. Here’s how to approach it:
1. Material Selection: The Sphinx is made of limestone, so use sandstone, smooth sandstone, and sandstone slabs to capture its essence. These blocks will help you mimic the Sphinx’s weathered, ancient look.
2. Base Structure: Start with a rectangular base, around 30×10 blocks. Build this up to about 5 blocks high. This will form the main body of the Sphinx. From the front, begin shaping the paws, extending them outwards and slightly downwards.
3. Body and Head: The body of the Sphinx should be wide and low. Gradually build up the sides, tapering towards the middle to create a rounded back. The head is the most detailed part. Start with a blocky outline and slowly shape it by adding and removing blocks to form the nose, eyes, and headdress. Use black wool or black concrete for the eyes to make them stand out.
4. Adding Details: The Sphinx’s face and headdress are its most distinctive features. Add the nemes headdress stripes using blue wool or lapis blocks to create the iconic striped pattern. Carve out the mouth and nose carefully, ensuring they’re proportional to the head.
5. Final Touches: The Sphinx is often depicted with a partially eroded face. Use slabs and stairs to give it a weathered look. Surround your Sphinx with sand and sandstone blocks to create the Giza Plateau, enhancing the overall realism.
With these detailed guides, you’re well on your way to crafting famous statues in Minecraft. Whether you’re aiming for historical accuracy or creative expression, these steps will help you build iconic monuments that stand out in your Minecraft world.
Creative and Fun Statue Ideas for Minecraft
Designing Fantasy Creatures: Dragons and Unicorns
Creating fantasy creatures like dragons and unicorns in Minecraft is a thrilling adventure that lets your imagination run wild. Here’s how you can bring these magical beings to life block by block.
1. Building a Dragon:
Dragons are among the most iconic fantasy creatures, and building one in Minecraft is an epic project. Start with the body. Use blackstone or nether bricks for a fierce, dark dragon, or green terracotta and lime concrete for a more traditional look. Shape the body horizontally, keeping it long and sinuous.
For the wings, use wool or concrete in a complementary color. Build them in an arched position, using fence posts or iron bars to represent the skeletal structure of the wings. Don’t forget to add claws using obsidian or black wool, and detail the face with redstone blocks for fiery eyes and quartz slabs for teeth.
2. Creating a Unicorn:
Unicorns, with their ethereal beauty, are perfect for adding a touch of magic to your Minecraft world. Use white wool or quartz blocks for the body to give it a pristine, magical appearance. Shape the body vertically, ensuring the legs are slim and elegant.
The horn can be made from gold blocks or glowstone to make it sparkle. Add a mane and tail using pink or purple wool for a whimsical touch. Finally, detail the face with blue wool for the eyes and quartz stairs for a delicate nose.
Building Superhero Statues: Batman, Spiderman, and More
Who doesn’t love superheroes? Building statues of your favorite heroes in Minecraft can be a fantastic way to celebrate these characters. Here’s a guide to get you started.
1. Crafting Batman:
To build Batman, start with his dark and brooding appearance. Use black wool or black concrete for the suit. Begin with the feet, building upward to create the legs and torso. Add a utility belt using yellow wool or gold blocks.
For the cape, use black wool or coal blocks, making it flow from the shoulders to the ground. Batman’s mask is crucial, use black wool for the head and white wool for the eyes. Add ears using black banners or stairs for a distinctive look.
2. Building Spiderman:
Spiderman’s vibrant costume makes for an eye-catching statue. Use red and blue wool or concrete for the suit. Start with the feet, alternating red and blue blocks to mimic his costume’s pattern. Build the legs, torso, and arms, following the same color scheme.
To create his webbing, use white wool or iron bars, weaving them over the suit for a detailed look. The mask should be red, with white wool for the large eyes. Add details like the spider emblem on his chest using black wool or obsidian.
Personalized Statues: Crafting Your Own Minecraft Avatar
Crafting a statue of your own Minecraft avatar is a fun and personal project. Here’s how you can immortalize yourself in your world.
1. Start with the Basics:
Begin by replicating your avatar’s basic shape. Use concrete or wool in colors that match your skin, clothes, and accessories. If your avatar has a unique outfit, gather materials that closely resemble its colors and patterns.
2. Building the Body:
Start with the feet and build upwards. Ensure that the proportions are accurate by counting the number of blocks needed for each body part. For example, the legs might be 6 blocks high, the torso 8 blocks, and the arms 4 blocks wide and 12 blocks long.
3. Adding Details:
Details make your statue unique. If your avatar wears a hat, uses a specific tool, or has a particular hairstyle, incorporate those features. Use stairs, slabs, and fences to add depth and texture. If your avatar has a facial expression or special features like glasses, use different colors of wool or concrete to replicate them accurately.
4. Finishing Touches:
To make your statue truly stand out, add some background elements. Create a pedestal with your name or use banners to display your username. Surround the statue with elements that reflect your personality or Minecraft interests, like miniatures of your favorite builds or items.
These creative and fun statue ideas can turn your Minecraft world into a gallery of your favorite characters and fantastical creatures. Whether you’re building a majestic dragon, a powerful superhero, or a personalized avatar, these projects will bring joy and excitement to your game. Happy building!

