How to Make Minecraft Beautiful: Ultimate Guide


Enhancing Visuals with Resource Packs
Choosing the Right Resource Pack
When figuring out how to make Minecraft beautiful, one of the first steps is choosing the right resource pack. Resource packs can completely transform the look of your game, from the textures of blocks and items to the overall atmosphere.
Contents
ToggleThe key to picking the perfect resource pack is knowing what kind of visual experience you’re after. Do you want a realistic look, a cartoonish feel, or something in between? If you’re aiming for realism, packs like Conquest and Misa’s Realistic offer detailed textures that bring your world to life. For a more whimsical touch, Sphax PureBDcraft delivers vibrant, comic book-style graphics that make everything pop.
Consider the resolution as well. Resource packs come in various resolutions, from the standard 16×16 to ultra-high 512×512. Higher resolutions mean more detail but can require a more powerful computer to run smoothly. Balancing visual quality with performance is crucial, especially if your computer isn’t top-of-the-line.
Installing and Activating Resource Packs
Once you’ve chosen your ideal resource pack, it’s time to install and activate it. Don’t worry, it’s simpler than it sounds. First, download the resource pack file from a trusted website like Planet Minecraft or CurseForge. Make sure the file is compatible with your version of Minecraft to avoid any issues.
After downloading, open Minecraft and navigate to the main menu. Click on “Options,” then “Resource Packs,” and finally “Open Resource Pack Folder.” This will open the folder where you’ll need to place your downloaded resource pack file. Simply drag and drop the file into this folder.
Now, go back to Minecraft and you should see your resource pack listed on the left side of the screen. Click the arrow to move it to the right side, activating it. Click “Done” and wait for the game to load the new textures. Voilà! Your Minecraft world should now look stunningly different.
Popular Resource Packs: Faithful, Sphax PureBDcraft, John Smith Legacy
There are countless resource packs available, but some have stood the test of time due to their quality and popularity. Here are three you might want to try:
Faithful is perfect if you want to keep the original Minecraft aesthetic but with a bit more polish. It enhances the default textures, making them crisper and more detailed while retaining the game’s classic charm. Faithful is available in various resolutions, typically 32×32 or 64×64, offering a subtle but noticeable improvement.
Sphax PureBDcraft offers a vibrant, comic book-style overhaul. Its bold colors and playful textures make everything in Minecraft feel lively and fun. It’s highly customizable, with different resolutions and add-ons to fit your preferences. Whether you’re building a whimsical fantasy world or just want a fresh look, Sphax PureBDcraft is a fantastic choice.
John Smith Legacy is ideal for those who love a medieval or rustic feel. It’s packed with intricate details that give your builds a rugged, historical look. From weathered stone bricks to aged wooden planks, every texture tells a story. This pack is especially popular among players who enjoy creating castles, villages, and other old-world structures.
Incorporating these resource packs into your game can significantly enhance your Minecraft experience. Each pack brings its own unique style, transforming the visual landscape and making your adventures even more immersive. So, why stick with the standard look when you can explore the endless possibilities of resource packs? Start experimenting today and discover how to make Minecraft beautiful in your own unique way.

Optimizing Minecraft with Shaders
Benefits of Using Shaders
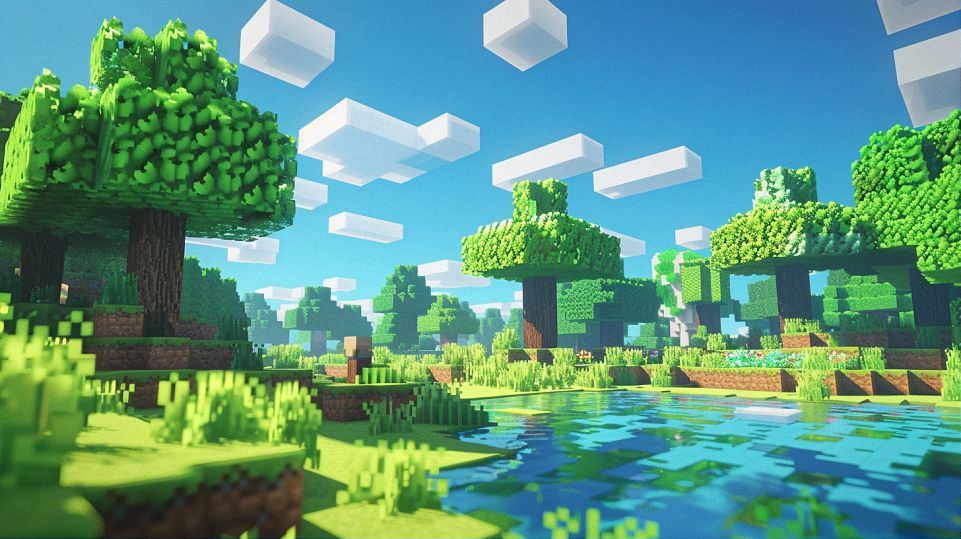
If you’re wondering how to make Minecraft beautiful, shaders are a game-changer. They dramatically enhance the visual appeal by adding realistic lighting, shadows, and effects that make your Minecraft world look breathtaking. Why should you use shaders? Here are some compelling benefits.
First off, shaders bring dynamic lighting to the game. The way light interacts with different surfaces, creating shadows and highlights, gives Minecraft a realistic and immersive feel. Imagine the sun setting over your castle, casting long, dramatic shadows, or the moonlight reflecting off a serene lake. These effects add depth and dimension to your builds, making them look more lifelike.
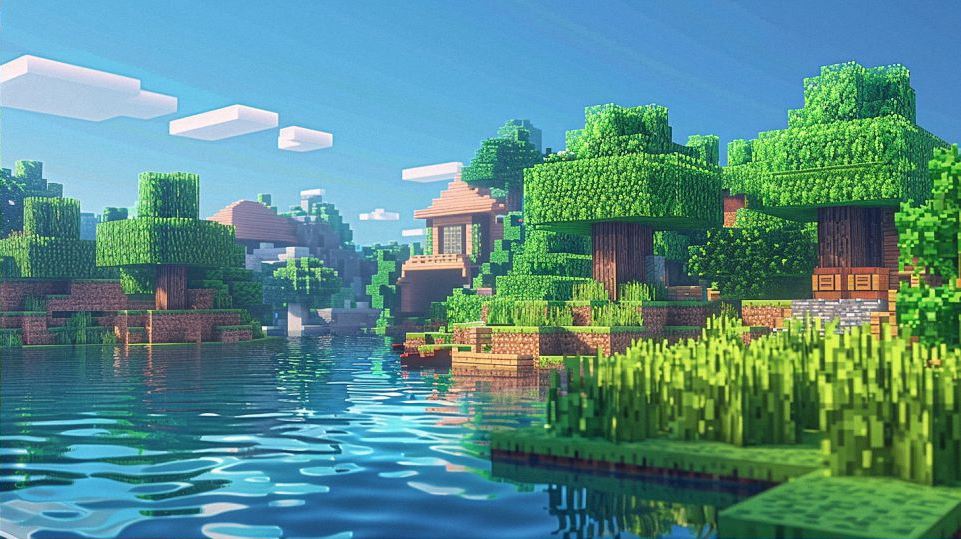
Another perk is the enhanced water effects. Vanilla Minecraft’s water looks quite basic, but with shaders, it can appear crystal clear, with realistic reflections and waves. Some shaders even add underwater caustics, creating a mesmerizing dance of light beneath the surface.
Furthermore, shaders can improve atmospheric effects. Picture fog rolling through a dense forest, or rain creating a moody, wet environment. These elements not only enhance the visual experience but also add to the overall ambiance, making your adventures feel more epic and immersive.
Installing and Configuring OptiFine
Before diving into the world of shaders, you’ll need to install and configure OptiFine. OptiFine is a Minecraft optimization mod that enables the use of shaders and improves the game’s performance. Here’s a step-by-step guide to get you started.
-
Download OptiFine: Head to the OptiFine website and download the version that matches your Minecraft version. Make sure to download from a trusted source to avoid any issues.
-
Install OptiFine: Once downloaded, open the OptiFine installer and follow the on-screen instructions. This process is straightforward and usually takes just a few minutes.
-
Launch Minecraft with OptiFine: Open your Minecraft launcher and select the OptiFine profile. Hit play to launch the game with OptiFine enabled.
-
Download Shaders: Next, you’ll need to download shader packs. Popular sites like CurseForge and Shader Packs offer a variety of options. Choose a shader pack that suits your preferences and download it.
-
Install Shaders: Open Minecraft, go to “Options,” then “Video Settings,” and finally “Shaders.” Click on “Shaders Folder” to open the directory where you’ll place the downloaded shader pack. Drag and drop the shader file into this folder.
-
Activate Shaders: Back in Minecraft, you’ll now see your shader pack listed. Select it and click “Done.” Your game will load the shaders, transforming the visuals instantly.
Recommended Shader Packs: SEUS, BSL, Chocapic13
Choosing the right shader pack can significantly impact your Minecraft experience. Here are three highly recommended shader packs, each offering unique visual enhancements.
SEUS (Sonic Ether’s Unbelievable Shaders) is one of the most popular shader packs. It’s renowned for its stunning lighting effects, realistic shadows, and beautiful water reflections. SEUS makes your Minecraft world look almost like a high-end graphic game, perfect for those who want a jaw-dropping visual upgrade.
BSL Shaders are another excellent option. They offer a great balance between performance and aesthetics, providing vibrant colors, realistic water, and impressive lighting effects. BSL Shaders are highly customizable, allowing you to tweak settings to match your preferences and system capabilities.
Chocapic13 Shaders are known for their versatility and performance optimization. They deliver stunning visuals without significantly impacting game performance, making them ideal for players with mid-range systems. Chocapic13 offers various versions, from high to low, so you can choose one that suits your hardware.
Incorporating shaders into your Minecraft setup can transform your gaming experience. Whether you’re exploring vast landscapes, building intricate structures, or simply enjoying the scenery, shaders add a level of realism and beauty that’s hard to match. Give these shader packs a try and see how they can make Minecraft beautiful like never before.

Customizing Terrain and Builds
Using WorldEdit for Advanced Building
When it comes to creating intricate structures and detailed landscapes in Minecraft, WorldEdit is an indispensable tool. But what exactly does WorldEdit bring to the table?
Firstly, WorldEdit allows you to manipulate large areas of blocks quickly and efficiently. Whether you’re building a massive castle or sculpting a mountain range, WorldEdit lets you copy, paste, replace, and fill blocks with ease. This means you can save time and focus on the creative aspects of your builds.
Additionally, WorldEdit supports custom scripts and commands, allowing for advanced building techniques that would be otherwise impossible in vanilla Minecraft. Imagine creating complex patterns, perfectly symmetrical structures, or even entire cities with just a few commands.
Moreover, WorldEdit supports undo and redo commands, so you can experiment with different designs without fear of irreversible mistakes. This flexibility is crucial for creative projects where trial and error are part of the process.
Creating Realistic Landscapes with TerraForged
TerraForged is a mod that enhances Minecraft’s terrain generation, making landscapes more realistic and diverse. Why use TerraForged for your builds?
Firstly, TerraForged introduces geological realism to Minecraft’s world generation. It creates natural-looking mountains, valleys, rivers, and biomes that seamlessly blend together. This means your Minecraft world will have a more organic and immersive feel, whether you’re exploring or building.
Moreover, TerraForged supports biome-specific features, such as custom trees, rocks, and plants. This allows you to create unique ecosystems and habitats, from lush forests to arid deserts, each with its own distinct character.
Additionally, TerraForged offers customizable presets and settings, so you can fine-tune the terrain generation to suit your preferences. Whether you want a world with towering mountains and deep ravines or rolling hills and serene lakes, TerraForged gives you the tools to create it.
Adding Detail with Chisel and Bits
When it comes to adding intricate detail to your Minecraft builds, Chisel and Bits is the go-to mod. Here’s why it’s a game-changer.
Firstly, Chisel and Bits allows you to carve and sculpt individual blocks, giving you unprecedented control over the smallest details of your creations. Whether you’re adding decorative patterns, fine textures, or intricate sculptures, Chisel and Bits lets you do it with precision.
Moreover, Chisel and Bits supports microblocks, which are tiny blocks that can be placed in much finer increments than standard Minecraft blocks. This means you can create incredibly detailed designs that were previously impossible.
Additionally, Chisel and Bits supports a wide range of materials and colors, allowing for creative experimentation and customization. Whether you’re working with wood, stone, glass, or even modded blocks, Chisel and Bits lets you mix and match materials to achieve the perfect look.
Incorporating WorldEdit, TerraForged, and Chisel and Bits into your Minecraft toolkit can take your building skills to the next level. Whether you’re a beginner looking to experiment with new techniques or a seasoned player aiming for intricate, realistic designs, these tools provide the flexibility and creativity to bring your Minecraft world to life. Experiment with different combinations and techniques to discover how these mods can help you customize your terrain and builds in ways you never thought possible.


