Minecraft Textures: Top Packs and Customization
Understanding Minecraft Textures
What Are Minecraft Textures?
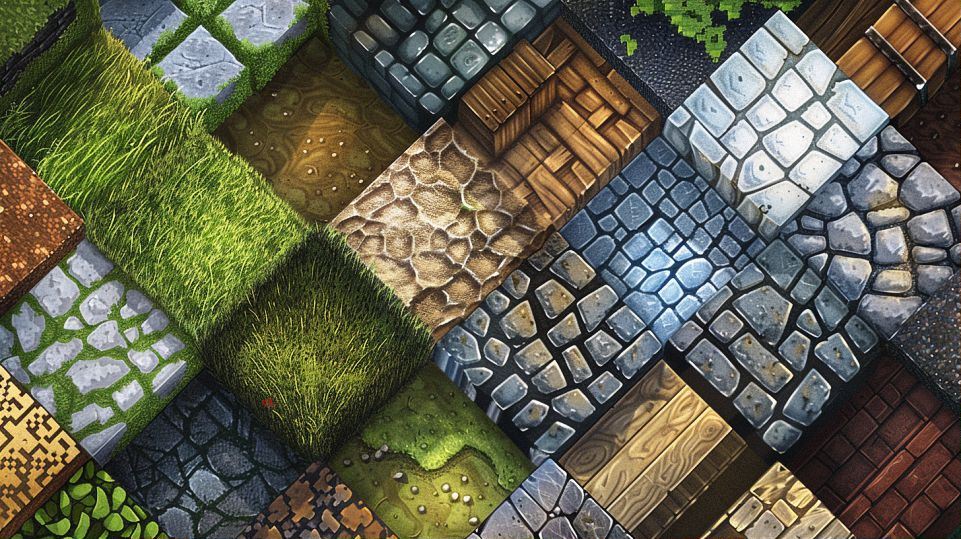
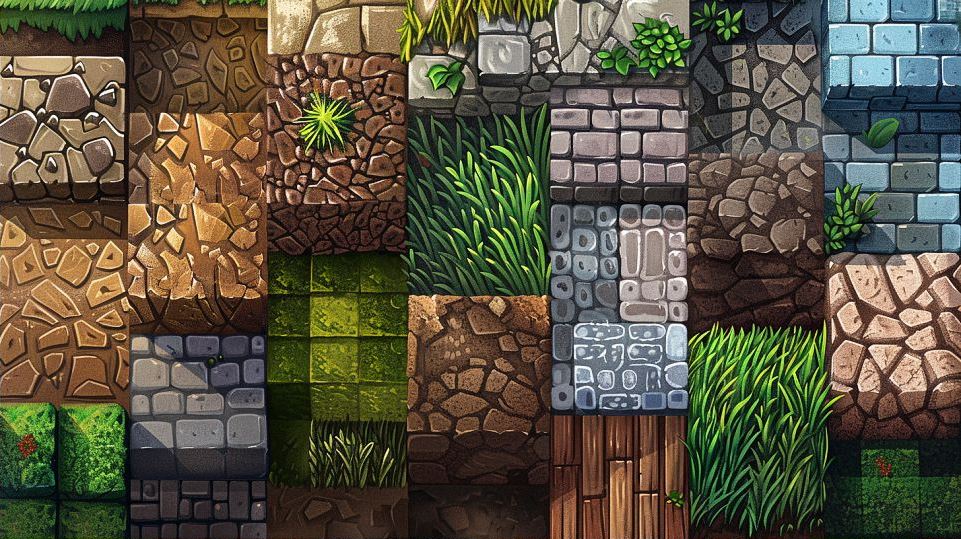
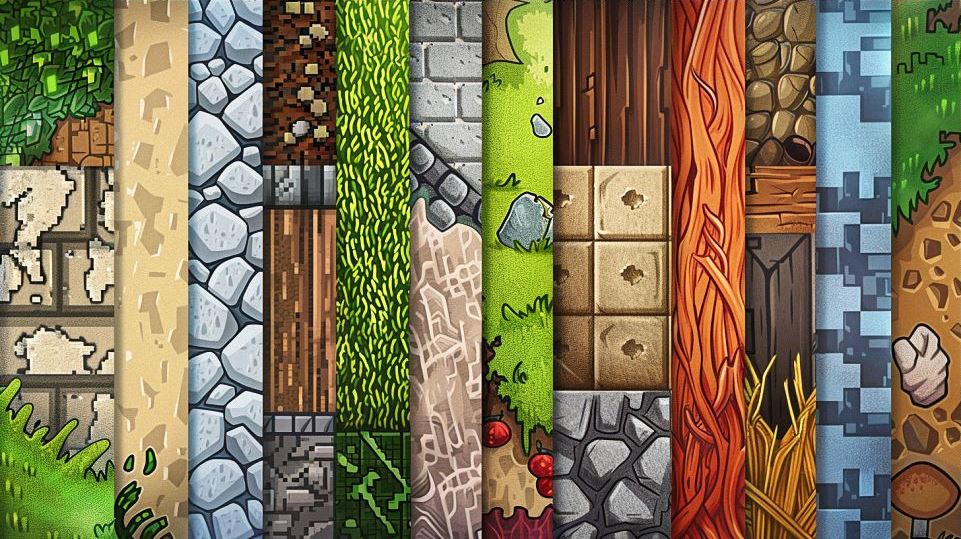
Minecraft textures are the visual building blocks of the game. Every block, item, and creature you see in Minecraft is covered in a texture. These textures are essentially 2D images wrapped around 3D models, giving the game its distinctive look. Think of textures as the “skins” that make up the world of Minecraft. They define the appearance of everything, from the rugged stone blocks to the shimmering water and even the character skins.
Contents
ToggleBut why are textures so important? Without them, the game would be a bland, featureless landscape. The rich and varied textures bring the game to life, making exploration and building much more enjoyable. They provide the detail and depth that help players distinguish between different materials and items, which is crucial for crafting and construction.
The Evolution of Minecraft Textures Over the Years
Minecraft textures have come a long way since the game’s early days. When Minecraft was first released in 2009, the textures were simple and pixelated, fitting the game’s retro aesthetic. These early textures, designed by Markus “Notch” Persson, were charmingly basic but laid the foundation for the game’s unique visual style.
As Minecraft gained popularity, Mojang, the game’s developer, began refining and expanding the texture library. In 2010, the game introduced biomes, each with its own distinct textures, adding more variety and visual interest. By 2011, the Adventure Update brought even more detailed textures, enhancing the realism and depth of the game world.
In 2017, Mojang made a significant leap with the “Texture Update.” This overhaul, led by Jasper Boerstra, aimed to unify the visual style while improving texture quality. The new textures were smoother and more detailed, yet they retained the iconic blocky charm that players loved. This update was crucial for modernizing the game’s look while staying true to its roots.
Today, Minecraft continues to evolve, with the community contributing countless texture packs that offer everything from hyper-realistic environments to whimsical, cartoonish worlds. These packs can be easily installed, allowing players to customize their game experience to their liking.
How Minecraft Textures Impact Gameplay Experience
Minecraft textures play a pivotal role in shaping the gameplay experience. The right textures can make a world feel immersive and engaging, while poor textures can detract from the overall enjoyment. Here are a few ways textures impact gameplay:
-
Visual Clarity: Clear and distinct textures help players quickly identify blocks and items. This is crucial for gameplay, as knowing the difference between, say, cobblestone and gravel can affect building plans and strategies.
-
Atmosphere and Mood: Textures set the tone for different biomes and structures. A dark, eerie texture pack can make exploring a cave feel like a thrilling adventure, while a bright, colorful pack can make a village look cheerful and inviting.
-
Performance: High-resolution textures can make the game look stunning but might require more processing power. Players with less powerful computers may opt for lower-resolution textures to maintain smooth gameplay.
-
Customization: One of the joys of Minecraft is the ability to personalize your world. Texture packs allow players to change the look and feel of their game, making it a highly customizable experience. Whether you prefer a medieval theme, a futuristic sci-fi look, or something entirely unique, there’s likely a texture pack that suits your taste.
In essence, textures are more than just decorative elements, they are integral to the Minecraft experience. They enhance the visual appeal, contribute to the game’s atmosphere, and offer players a way to express their creativity. As Minecraft continues to grow and evolve, textures will undoubtedly remain a core component of what makes the game so beloved.
Creating and Customizing Minecraft Textures
Tools and Software for Designing Minecraft Textures
Creating and customizing Minecraft textures is a creative process that requires the right tools. Thankfully, there are several user-friendly software options available, each catering to different skill levels and preferences.
-
Paint.NET: This free, lightweight image editor is perfect for beginners. With a simple interface and a variety of basic tools, Paint.NET makes it easy to get started on your texture design journey.
-
GIMP: A step up in complexity, GIMP offers powerful features comparable to professional software like Photoshop. It’s free and open-source, making it accessible to everyone. GIMP is great for more detailed and intricate texture work.
-
Adobe Photoshop: For those serious about texture creation, Photoshop is the industry standard. While it’s a bit pricey, the extensive toolset and features make it a top choice for professional designers.
-
Blockbench: Specifically designed for Minecraft, Blockbench allows users to create 3D models and textures seamlessly. It’s especially useful for designing custom mobs and blocks, providing a direct way to visualize how textures will look in-game.
-
Minecraft Texture Studio: This all-in-one tool lets you create, edit, and manage Minecraft texture packs with ease. It’s particularly handy for those who want an integrated solution without having to juggle multiple programs.
Step-by-Step Guide to Creating Your Own Minecraft Textures
Ready to create your own Minecraft textures? Follow these steps to bring your creative vision to life:
-
Choose Your Tool: Decide which software you’ll use. For this guide, let’s assume you’re using Paint.NET, a popular choice for beginners.
-
Set Up Your Workspace: Open Paint.NET and create a new file. Set the dimensions to 16×16 pixels for a classic Minecraft texture or 32×32 for a higher resolution.
-
Design Your Texture: Use the drawing tools to create your texture. Be creative! You can design anything from a new type of stone to a custom sword. Remember to keep it simple and pixelated to match Minecraft’s aesthetic.
-
Save Your Work: Once you’re happy with your texture, save it as a PNG file. This format preserves transparency, which is crucial for textures like glass or foliage.
-
Import Into Minecraft: Navigate to your Minecraft directory and find the “resourcepacks” folder. Create a new folder for your texture pack and place your PNG file inside the appropriate subfolder (e.g., “blocks” for block textures, “items” for item textures).
-
Test Your Texture: Launch Minecraft and enable your texture pack in the game settings. Enter a world and check out your custom texture in action. Make any necessary adjustments to improve its appearance.
Tips and Tricks for Unique and Creative Textures
Creating standout Minecraft textures involves a mix of creativity and technique. Here are some tips and tricks to help you design unique textures:
-
Stay Consistent: Maintain a consistent style across all textures in your pack. This coherence makes the game world feel more immersive and polished.
-
Use References: Look at real-world materials for inspiration. Studying how light interacts with different surfaces can help you create more realistic textures.
-
Experiment with Colors: Don’t be afraid to play with colors. Bold and vibrant hues can make your textures pop, while muted tones can create a more subdued, realistic look.
-
Add Details: Small details can make a big difference. Adding subtle textures, like cracks in stone or veins in leaves, can enhance the overall realism and depth.
-
Test Regularly: Frequently test your textures in-game to see how they look in different lighting conditions and environments. This helps you spot any issues early and make necessary tweaks.
-
Learn from Others: Explore texture packs created by other artists. Studying their techniques can provide valuable insights and inspire new ideas for your own textures.
By following these steps and tips, you’ll be well on your way to creating custom Minecraft textures that stand out and enhance your gaming experience. So grab your tools, unleash your creativity, and start designing!
Popular Minecraft Texture Packs
Faithful Texture Pack: Staying True to the Original
The Faithful Texture Pack is a beloved option among Minecraft players who appreciate the original game’s aesthetic but crave a bit more polish. As its name suggests, Faithful stays true to the classic look of Minecraft, enhancing the textures without deviating from their original style. This texture pack doubles the resolution of the standard textures from 16×16 to 32×32 pixels, resulting in a crisper and more detailed appearance while retaining the familiar feel of the game.
One of the main appeals of the Faithful Texture Pack is its simplicity. Players who prefer the traditional Minecraft experience will find that this pack maintains the game’s iconic blocky charm. Additionally, it’s continuously updated to match the latest Minecraft versions, ensuring that new blocks and items always have consistent, high-quality textures.
Sphax PureBDcraft: A Comic Book Inspired Texture Pack
If you’re looking for a texture pack that brings a whole new vibe to Minecraft, Sphax PureBDcraft might be right up your alley. Inspired by the bold and vibrant style of comic books, this texture pack transforms the Minecraft world into a colorful, cartoonish wonderland. With its high-resolution options, ranging from 16×16 to 512×512 pixels, PureBDcraft caters to a wide range of performance preferences.
Sphax PureBDcraft features exaggerated textures and whimsical designs, making everything from dirt blocks to diamond swords pop with personality. The pack also includes custom textures for mobs and UI elements, providing a comprehensive and cohesive visual overhaul. It’s perfect for players who want to inject a bit of fun and creativity into their Minecraft adventures.
John Smith Legacy: A Rustic and Medieval Feel
For players who love a rustic, medieval aesthetic, the John Smith Legacy texture pack is an excellent choice. This pack gives the game a distinctly old-world charm, making it ideal for building castles, villages, and other medieval-themed structures. With its detailed and gritty textures, John Smith Legacy transforms the Minecraft world into a place that feels both ancient and lived-in.
The textures in this pack are rich with detail, from the weathered stone blocks to the intricate wood planks. The John Smith Legacy pack also includes custom models and connected textures, enhancing the visual depth and immersion. It’s perfect for those who enjoy creating historical or fantasy-themed builds.
Soartex Fanver: A Clean and Smooth Aesthetic
Soartex Fanver is known for its clean, smooth, and polished look. This texture pack strips away the rough, pixelated edges typical of Minecraft, replacing them with sleek and modern textures. The result is a beautifully cohesive and aesthetically pleasing game world that’s easy on the eyes.
Players who prefer a minimalist and refined appearance will appreciate Soartex Fanver’s attention to detail. The pack covers all aspects of the game, from blocks and items to GUI elements, ensuring a uniform look. Whether you’re building contemporary structures or exploring the wilderness, Soartex Fanver makes the game feel fresh and sophisticated.
How to Install and Use Minecraft Texture Packs
Installing and using Minecraft texture packs is a straightforward process that lets you customize your game’s visuals. Here’s a quick guide to get you started:
-
Download a Texture Pack: Visit a reputable site like CurseForge or the official Minecraft website to find and download the texture pack you want. Ensure the pack is compatible with your version of Minecraft.
-
Locate Your Minecraft Folder: Open Minecraft and go to the “Options” menu. Click on “Resource Packs” and then “Open Resource Pack Folder.” This will open the folder where you need to place your downloaded texture pack.
-
Add the Texture Pack: Move the downloaded ZIP file into the resource pack folder. There’s no need to unzip the file.
-
Activate the Texture Pack: Return to Minecraft, and you should see your new texture pack listed under “Available Resource Packs.” Click the arrow next to the pack’s name to move it to the “Selected Resource Packs” section. Your game will reload with the new textures.
-
Enjoy Your New Look: Jump into a world and experience Minecraft with your freshly installed texture pack. If you want to switch packs or go back to the default textures, simply repeat the process and select a different pack.
By following these steps, you can easily enhance your Minecraft experience with a variety of stunning texture packs. Whether you prefer the faithful simplicity of the original textures or a bold, new visual style, there’s a texture pack out there for everyone.

