Minecraft: How to Make a Portal to Hell

Building Your Portal to the Nether
So, you want to venture into the fiery depths of the Nether? Fear not, brave adventurer! In this comprehensive guide, we’ll walk you through the process of creating your very own portal to the hellish realm of Minecraft.
Contents
ToggleGathering Materials
First things first, let’s talk about what you’ll need to construct your portal. Here’s a handy list to get you started:
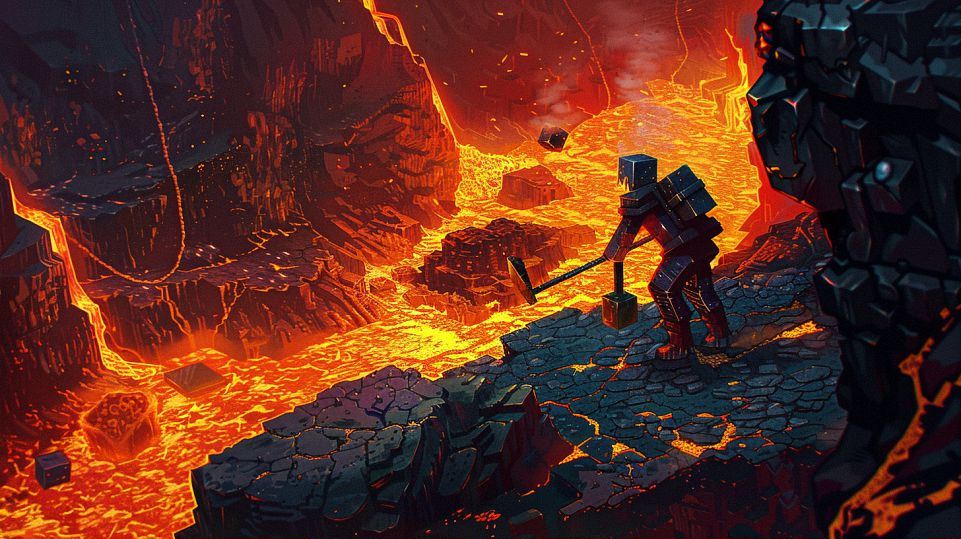
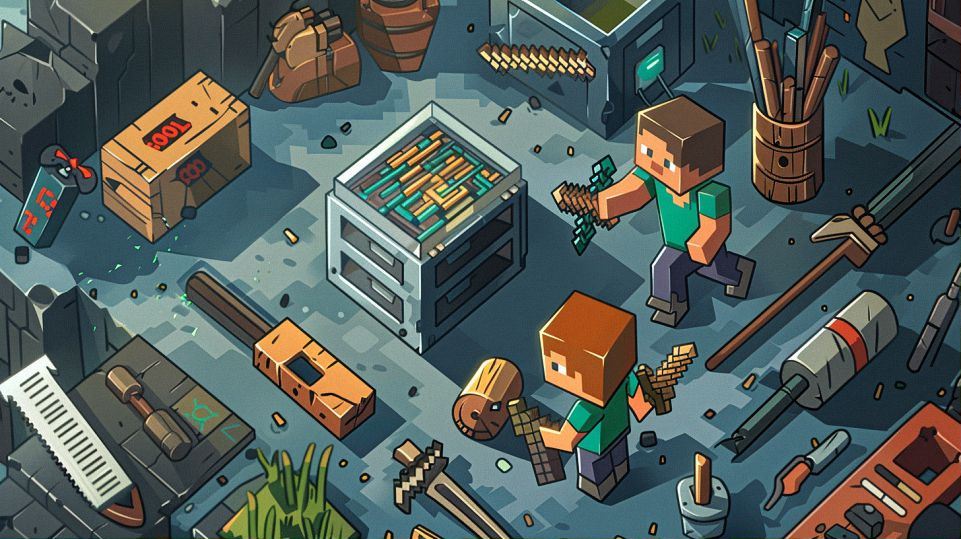
- Obsidian: The key ingredient for your portal. You’ll need a total of 10 blocks to create the frame.
- Diamond Pickaxe: The only tool capable of mining obsidian. Make sure you have one handy before you set out on your mining expedition.
- Flint and Steel: This will be used to ignite the portal once it’s constructed.
- Optional: Lava Bucket: If you’re feeling adventurous, you can use lava and water to create obsidian instead of mining it directly.
Now that you know what you need, let’s discuss where to find these materials.
What You Need
Obsidian can be found naturally occurring in the game, typically near lava pools. However, mining it can be a time-consuming process. Alternatively, you can trade with villagers or search for naturally generated portals in strongholds.
Where to Find Them
Lava pools are abundant in Minecraft, especially in underground caves and ravines. Keep an eye out for these fiery bodies of molten rock as they often indicate the presence of obsidian nearby. Villages are also a great source of obsidian through trading, so be sure to explore and interact with villagers on your journey.
Constructing the Portal Frame
With your materials in hand, it’s time to start building your portal frame. Follow these steps carefully:
- Choose Your Location: Find a suitable spot for your portal. It should be relatively flat and open to ensure easy construction.
- Lay the Foundation: Place three obsidian blocks in a horizontal row on the ground.
- Build the Frame: Stack three more obsidian blocks on top of each end block to create two vertical pillars.
- Complete the Frame: Connect the two pillars at the top with another row of three obsidian blocks, forming a rectangular frame.
Step-by-Step Guide
Remember, precision is key when constructing your portal frame. Take your time to ensure each block is placed correctly, as any mistakes could prevent the portal from functioning properly.
Tips for Accuracy
If you’re having trouble placing blocks accurately, try crouching (pressing the shift key) to avoid accidentally falling off ledges or misplacing blocks. Additionally, using a grid pattern or counting blocks can help maintain symmetry and ensure your portal frame is perfectly aligned.
Activating Your Portal
With the frame complete, it’s time to bring your portal to life. Here’s how to activate it:
- Equip Your Flint and Steel: Make sure you have your flint and steel equipped in your hand.
- Ignite the Portal: Right-click on any of the obsidian blocks within the portal frame to ignite the portal with the sparks from your flint and steel.
Using Flint and Steel
Flint and steel are essential for activating portals in Minecraft. If you don’t have one yet, you can craft it using one flint and one iron ingot. It’s a handy tool to have in your inventory for igniting not only portals but also fires and TNT.
Other Activation Methods
While flint and steel are the most common method for activating portals, there are alternative methods you can try. For example, you can use a fire charge or even a dispenser with a fire charge to ignite the portal remotely.
And there you have it, young adventurer! With your portal now active, you’re ready to step through into the Nether and embark on your next great Minecraft adventure. Good luck, and may the blocks be ever in your favor!
Constructing the Portal Frame
Now, let’s get down to the nitty-gritty of constructing your portal frame. This is where the magic happens, where you turn those obsidian blocks into a gateway to the Nether!
Setting Up the Frame
Building the frame is like laying the foundation for a towering castle or a cozy cottage—it’s all about getting the structure just right. Here’s your step-by-step guide to building the perfect portal frame:
-
Choose Your Location: Find a spot in your Minecraft world where you want your portal to reside. It should be a flat, open area with plenty of space for your frame.
-
Lay the Foundation: Start by placing three obsidian blocks in a horizontal row on the ground. These blocks will serve as the base of your portal.
-
Build the Pillars: Next, stack three obsidian blocks on top of each end block to create two vertical pillars. These pillars will frame the sides of your portal.
-
Connect the Top: Finally, complete the frame by adding another row of three obsidian blocks across the top, connecting the two pillars and forming a rectangular shape.
Step-by-Step Guide
Let’s break it down even further with a step-by-step guide to ensure you’re on the right track:
- Step 1: Locate a flat area in your Minecraft world and mark out where you want your portal to go.
- Step 2: Mine or collect the obsidian blocks you need. Remember, you’ll need a total of 10 blocks to complete the frame.
- Step 3: Place the first three obsidian blocks in a row on the ground, ensuring they’re aligned perfectly.
- Step 4: Stack three more obsidian blocks on top of each end block to create the vertical pillars.
- Step 5: Connect the two pillars at the top by placing another row of three obsidian blocks across them.
- Step 6: Step back and admire your handiwork—your portal frame is now complete and ready for activation!
Tips for Accuracy
Building a portal frame requires precision and attention to detail. Here are some tips to help you ensure your frame is perfectly constructed:
- Take Your Time: Rushing through the building process can lead to mistakes. Take your time to carefully place each block in its proper position.
- Check for Symmetry: Make sure your frame is symmetrical by counting blocks and double-checking alignments.
- Use Landmarks: Use nearby landmarks or natural features to help you position your frame accurately.
- Adjust as Needed: Don’t be afraid to break and replace blocks if something doesn’t look quite right. It’s better to fix mistakes now than to have a wonky portal later!
By following these tips and taking your time, you’ll have a portal frame that’s as sturdy as a fortress wall and ready to transport you to the fiery depths of the Nether in no time!
Activating Your Portal
Congratulations! You’ve successfully constructed your portal frame, but your journey into the Nether has only just begun. Now, it’s time to activate your portal and step into the fiery abyss. Let’s dive into the exciting process of bringing your portal to life!
Equipping Your Flint and Steel
Before you can ignite your portal, you’ll need the right tool for the job—your trusty flint and steel. This handy tool is essential for creating sparks that will ignite the portal and open the gateway to the Nether. Make sure you have it equipped in your hand before proceeding to the next step.
Igniting the Portal
With your flint and steel at the ready, it’s time to ignite the portal and unleash its otherworldly power. Follow these simple steps to activate your portal:
-
Approach the Portal: Stand in front of your portal frame, taking a moment to steel yourself for the adventure that lies ahead.
-
Position Yourself: Position yourself directly in front of the portal, ensuring you have a clear line of sight to the obsidian blocks.
-
Use Your Flint and Steel: Right-click (or tap, if you’re playing on a touchscreen device) on any of the obsidian blocks within the portal frame with your flint and steel equipped.
-
Witness the Magic: As you strike the obsidian block with your flint and steel, sparks will fly, and the portal will burst into life with a brilliant display of flames.
Using Flint and Steel
Flint and steel are indispensable tools for any Minecraft adventurer. In addition to activating portals, they can also be used to light fires, ignite TNT, and even scare away pesky mobs. Keep your flint and steel close at hand—it may just save your life in a pinch!
Alternative Activation Methods
While flint and steel is the most common method for activating portals, there are other ways to achieve the same result. For example, you can use a fire charge—a rare item dropped by ghasts in the Nether—to ignite the portal. Additionally, a dispenser loaded with a fire charge can be used to activate the portal remotely, adding an extra layer of convenience to the process.
Now that your portal is activated, the Nether awaits! Take a deep breath, muster your courage, and step through the portal to begin your epic adventure in the fiery realm. But remember, the dangers of the Nether are many, so tread carefully and be prepared for anything that may lie ahead. Safe travels, adventurer!