How to Make Rails in Minecraft: Expert Guide
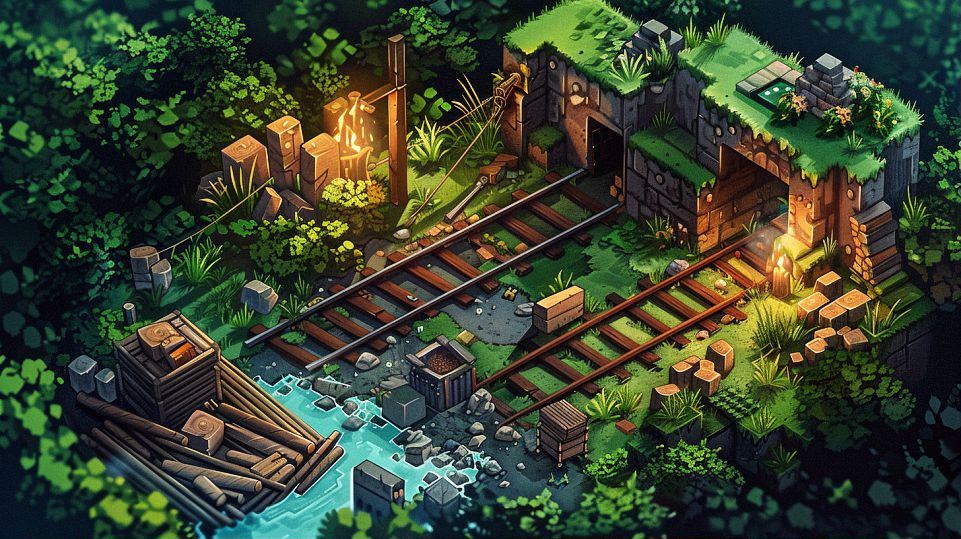
Getting Started with Rails in Minecraft
Minecraft offers endless possibilities for creativity, from building towering castles to intricate redstone contraptions. But have you ever thought about adding railways to your world? In this guide, we’ll dive into the exciting world of rail transportation and learn how to make rails in Minecraft.
Contents
ToggleUnderstanding the Basics of Rails
What exactly are rails, and how do they work in the Minecraft universe? Rails are essential components for creating transportation systems within the game. They allow players to travel quickly and efficiently across vast landscapes, whether by foot or by minecart.
To begin our journey, let’s first grasp the fundamentals of rails. Rails come in various types, including standard rails, powered rails, and detector rails. Each type serves a specific purpose, such as providing momentum to minecarts or detecting their presence on the track.
Crafting Rails in Minecraft
Now that we understand the importance of rails, let’s roll up our sleeves and start crafting! But before we can lay down tracks, we need to gather the necessary materials.
-
Gathering Materials
- Iron Ingots: The primary ingredient for crafting rails is iron ingots. You can obtain iron by mining iron ore found deep underground and smelting it in a furnace.
- Sticks: Next, you’ll need sticks, which are crafted from wooden planks. Simply place two wooden planks vertically in a crafting table to create four sticks.
-
Crafting the Rails
- Using the Crafting Table: With our materials in hand, it’s time to craft some rails! Head over to a crafting table and arrange your iron ingots and sticks according to the recipe.
- Step-by-Step Guide to Crafting Rails: Place three iron ingots horizontally across the top row and three sticks vertically down the middle row. Voila! You’ve crafted 16 standard rails.
Placing and Using Rails in Your Minecraft World
With our rails freshly crafted, it’s time to lay down some tracks and embark on exciting adventures!
-
Placing Rails on the Ground
- Choosing the Right Location: Select a suitable location for your railway network, considering factors such as terrain, elevation changes, and destination points.
- Placing Rails in Different Configurations: Experiment with various rail configurations, including straight tracks, curves, slopes, and junctions, to design a diverse and functional transportation system.
-
Riding Minecarts on Rails
- How to Board a Minecart: To board a minecart, simply right-click or tap on it. Once inside, you can control the minecart’s direction by pressing the forward or backward keys.
- Controlling Minecarts on Rails: Enjoy the thrill of riding through your meticulously crafted railway network, exploring new lands and discovering hidden treasures along the way.
In conclusion, mastering the art of making rails in Minecraft opens up a world of possibilities for transportation and exploration. So gather your materials, craft your rails, and embark on an epic journey through the blocky landscapes of Minecraft!
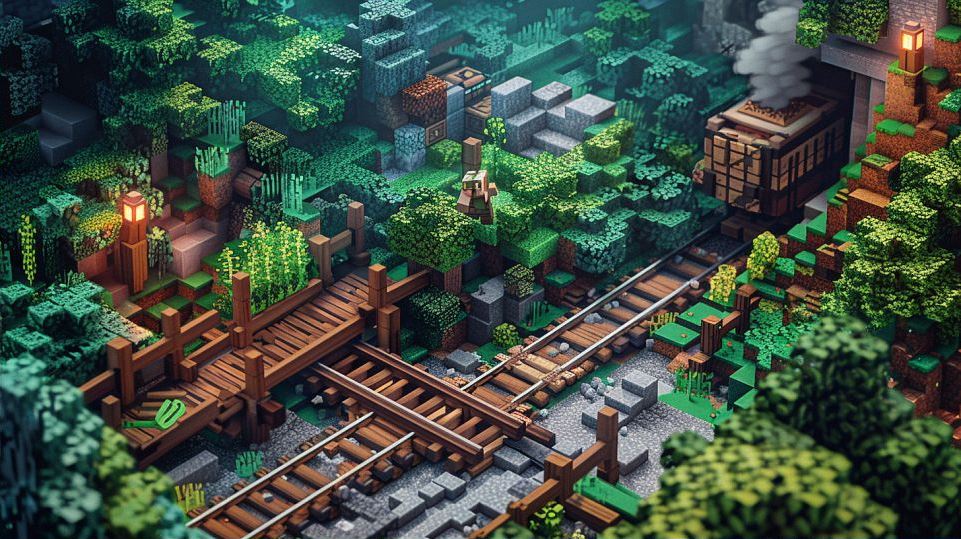
Crafting Rails in Minecraft
So, you’ve decided to take your Minecraft adventures to the next level by delving into the fascinating world of rail transportation. Crafting rails is a crucial skill that will open up a whole new realm of possibilities within your blocky universe. Let’s dive in and learn how to craft rails like a pro!
Gathering Materials: The Building Blocks of Railcraft
Before you can start laying down tracks, you’ll need to gather the essential materials for crafting rails. Here’s what you’ll need:
- Iron Ingots: Iron is the backbone of rail construction. Head deep into the mines and start digging for iron ore. Once you’ve collected enough ore, smelt it in a furnace to obtain iron ingots.
- Sticks: Every crafter knows the importance of a good supply of sticks. Gather wood from trees and use your crafting table to turn them into sticks. These will serve as the framework for your rails.
Crafting the Rails: Putting It All Together
Now that you’ve gathered your materials, it’s time to roll up your sleeves and get crafting. Follow these steps to create your rails:
-
Prepare Your Crafting Table: Find a flat surface and set up your crafting table. Make sure you have easy access to your iron ingots and sticks.
-
Arrange Your Materials: In your crafting table, place three iron ingots horizontally across the top row. Then, place one stick in the center slot of the middle row.
-
Crafting the Rails: Once your materials are arranged correctly, the magic happens! Click on the resulting rail icon in the crafting table to craft a batch of rails.
-
Repeat and Expand: Don’t stop at just a few rails. Keep crafting until you have enough to create a sprawling railway network that spans your entire Minecraft world.
Tips for Efficient Crafting
Crafting rails may seem straightforward, but there are a few tips and tricks to keep in mind to ensure your railway endeavors go smoothly:
-
Organize Your Inventory: Keep your inventory neat and organized to make crafting more efficient. Sort your materials into designated slots for easy access.
-
Use Renewable Resources: While iron is essential for crafting rails, don’t forget about renewable resources like wood for sticks. Sustainable harvesting practices will ensure a steady supply of materials for future projects.
-
Experiment with Designs: Get creative with your rail designs! Try different configurations, such as straight tracks, curves, and junctions, to customize your railway network to suit your needs.
Conclusion
Congratulations, you’re now well-equipped to embark on your rail-building adventure in Minecraft! With your newfound crafting skills, the possibilities are endless. So gather your materials, fire up your crafting table, and start laying down tracks to connect your Minecraft world like never before. Happy crafting!
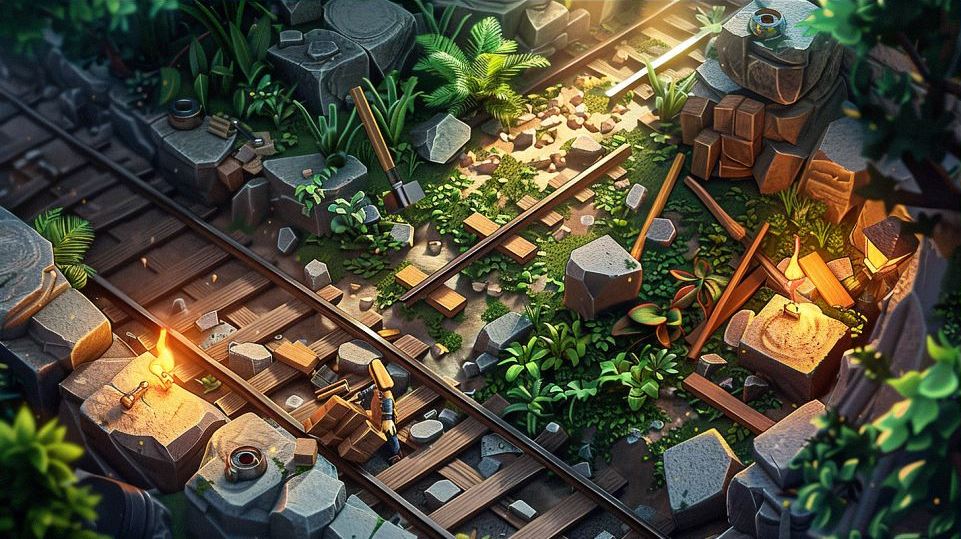
Placing and Using Rails in Your Minecraft World
So, you’ve crafted your rails, and now it’s time to bring them to life in your Minecraft world! Placing and using rails may seem straightforward, but there are some tips and tricks to ensure smooth sailing (or should I say, smooth riding?) on your railway adventures.
Placing Rails on the Ground
Before you can start riding the rails, you’ll need to lay down your tracks. Here’s how to do it like a pro:
-
Choosing the Right Location: First things first, select a prime location for your railway. Consider factors such as terrain, elevation changes, and destination points. Do you want to build a scenic route through the mountains, or perhaps a high-speed express line across the plains? The choice is yours!
-
Placing Rails in Different Configurations: Get creative with your rail layouts! Experiment with straight tracks, gentle curves, thrilling slopes, and strategic junctions to design a railway network that suits your needs. Whether you’re building a simple point-to-point route or a complex multi-track hub, the possibilities are endless.
Riding Minecarts on Rails
Now that your rails are in place, it’s time to hop aboard and experience the thrill of rail travel in Minecraft. Here’s how to ride minecarts like a seasoned adventurer:
-
How to Board a Minecart: Approach a minecart and right-click (or tap) to hop inside. Alternatively, you can push a minecart onto the tracks and then hop in. Once you’re inside, get ready for an exciting journey!
-
Controlling Minecarts on Rails: Once you’re aboard, you can control the direction of your minecart by pressing the forward or backward keys (W or S by default). Use these controls to navigate your railway network, speeding through tunnels, soaring over bridges, and exploring the far reaches of your Minecraft world.
Tips for Rail Riding Success
To ensure a smooth and enjoyable rail-riding experience, keep these tips in mind:
-
Mind the Gaps: Be cautious of gaps or discontinuities in your tracks, as they can derail your minecart and send you tumbling into the abyss below. Make sure your tracks are properly connected and supported to avoid any unexpected surprises.
-
Watch Your Speed: While it’s tempting to go full throttle and zoom through your railway network at breakneck speed, it’s essential to maintain control of your minecart. Slow down when approaching tight turns or junctions to avoid derailment and ensure a safe journey for yourself and your passengers.
-
Accessorize Your Rails: Spice up your railway adventures with additional features such as powered rails for extra speed boosts, detector rails for automated signaling systems, and minecart chests for transporting goods and supplies. With the right accessories, your railway network will become the envy of all your Minecraft friends.
Conclusion
With your rails laid and your minecart ready to roll, you’re all set for an epic railway adventure in Minecraft. So grab your ticket, hop aboard, and prepare for a journey like no other as you traverse the vast landscapes of your blocky world. Happy rail riding!

