Floor in Minecraft: Design Tips & Inspiration
Exploring Different Types of Floors in Minecraft
Wooden Floors: Types of Wood and Design Ideas
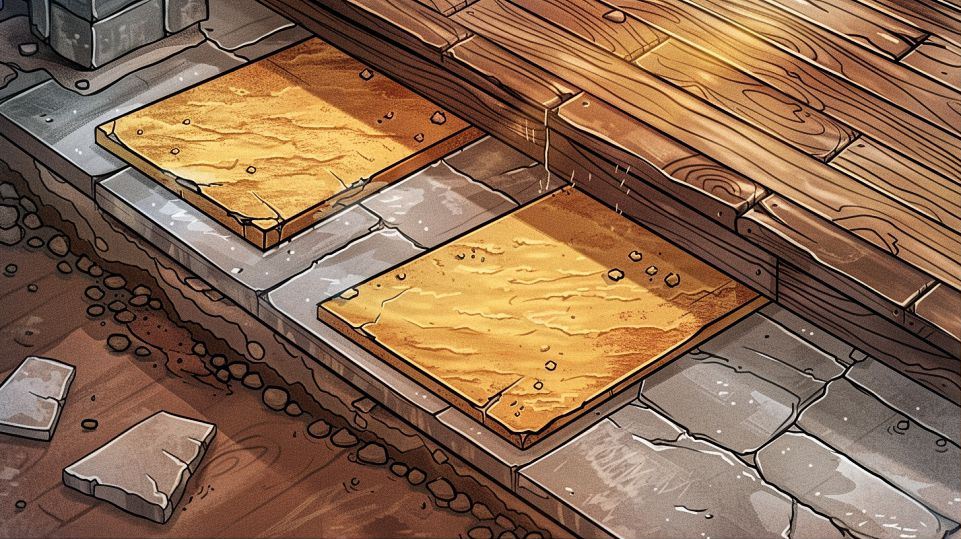
In Minecraft, the floor is one of the first things you notice when entering a room. Choosing the right wooden floor can set the tone for your entire build. With multiple types of wood available, each with its own texture and color, you have a variety of options to match any theme or style.
Contents
ToggleTypes of Wood:
- Oak Wood: The most common and versatile. Its light color fits almost any design, from rustic cabins to modern homes.
- Spruce Wood: Darker and richer in color, perfect for cozy cottages or medieval castles.
- Birch Wood: Pale and clean, birch floors are great for a bright, airy feel.
- Jungle Wood: With a reddish hue, it adds a touch of exotic flair.
- Acacia Wood: Known for its orange tint and unique grain, it’s ideal for more adventurous designs.
- Dark Oak Wood: Deep and elegant, suitable for luxurious builds.
Design Ideas:
- Checkered Patterns: Combine two types of wood, like Oak and Spruce, to create a classic checkered pattern.
- Bordered Floors: Use one type of wood for the center and another for the border to create a framed effect.
- Diagonal Stripes: Lay planks diagonally for a dynamic and modern look.
- Parquet Style: Mimic real-life parquet floors by arranging wood blocks in intricate, repeating patterns.
Stone Floors: From Cobblestone to Polished Andesite
Stone floors are another staple in Minecraft, offering durability and a variety of textures. Whether you’re building a castle or a modern fortress, stone floors provide a solid foundation.
Types of Stone:
- Cobblestone: The classic, rough stone that’s easy to gather. It’s great for medieval or rustic builds.
- Stone Bricks: Refined and elegant, perfect for castles, temples, and large mansions.
- Andesite, Diorite, and Granite: Each of these stones can be used in their raw form or polished for a smoother, cleaner look.
- Sandstone: Ideal for desert builds or structures needing a lighter color palette.
- Basalt and Blackstone: For a dark, dramatic effect, especially useful in nether builds.
Design Ideas:
- Mosaic Patterns: Mix polished and unpolished stones to create mosaic floors.
- Border Designs: Use a different type of stone for the border to frame rooms or hallways.
- Randomized Textures: Combine various types of stone in a random pattern for a natural, rugged look.
Creative Patterns with Terracotta and Glazed Terracotta
Terracotta and its glazed variant offer some of the most colorful and intricate design options in Minecraft. These blocks are perfect for adding unique patterns and vibrant colors to your floors.
Types of Terracotta:
- Terracotta: Available in various dyed colors, it can be used for more subdued, solid-colored floors.
- Glazed Terracotta: Comes in sixteen different patterns, each corresponding to a dyed color, perfect for decorative and detailed flooring.
Design Ideas:
- Geometric Patterns: Use glazed terracotta to create repeating geometric designs that add visual interest.
- Themed Rooms: Match glazed terracotta patterns to the theme of your room, like flowers for a garden or arrows for a navigation room.
- Accent Tiles: Use terracotta as accent pieces within a more neutral floor to add pops of color.
Carpet and Wool: Adding Color and Texture
Carpet and wool blocks are versatile materials that can add both color and texture to your Minecraft floors. They are particularly useful for creating warm, inviting spaces.
Types of Carpet and Wool:
- Carpet: Thin, easy to place, and available in all colors. Perfect for layering over other blocks.
- Wool Blocks: Thicker and more substantial, used to create solid, colorful floors.
Design Ideas:
- Area Rugs: Place carpets in specific areas to create the illusion of area rugs.
- Patterned Carpets: Combine different colors to create intricate patterns or images.
- Soft Flooring: Use wool blocks for entire rooms to create soft, plush floors, ideal for bedrooms or play areas.
Unique Options: Prismarine, Quartz, and More
For builders looking to make a statement, Minecraft offers several unique blocks that can be used for flooring. These blocks provide distinctive textures and colors that stand out.
Types of Unique Blocks:
- Prismarine: With its changing hues, it’s perfect for underwater or magical-themed builds.
- Quartz: Smooth, white, and luxurious, ideal for modern or futuristic designs.
- Honey Blocks: Sticky and somewhat transparent, adding a unique, amber glow.
- Sea Lanterns: Light up your floors with these blocks, perfect for adding ambiance to underwater or dark spaces.
Design Ideas:
- Underwater Palaces: Use prismarine and sea lanterns to create floors that feel at home under the sea.
- Modern Elegance: Quartz blocks can be arranged in clean, minimalist patterns for a modern look.
- Ambient Lighting: Integrate sea lanterns or glowstone into floors for built-in lighting that adds both function and style.
Exploring these different types of floors in Minecraft opens up endless possibilities for creativity and design. From the rustic charm of wooden planks to the intricate patterns of glazed terracotta, each option allows you to express your style and enhance your builds.
How to Build and Customize Floors in Minecraft
Gathering Materials: Tools and Techniques
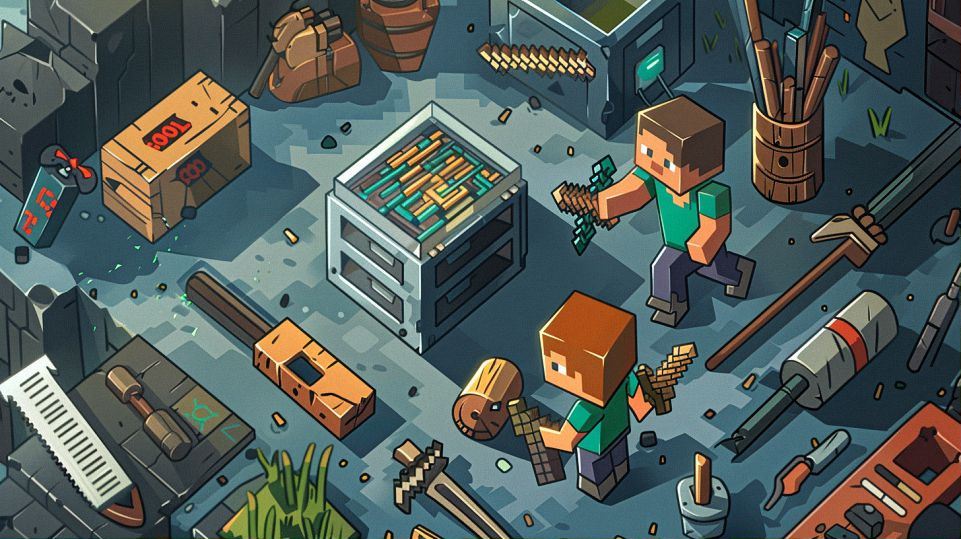
When it comes to building the perfect floor in Minecraft, the first step is gathering the right materials. You’ll need to collect various blocks depending on the type of floor you want to create.
Tools:
- Pickaxe: Essential for mining stone and ores. Use an iron pickaxe or better for quicker results.
- Axe: Speeds up the collection of wood. A diamond axe is the most efficient.
- Shovel: Ideal for gathering dirt, gravel, and sand.
Techniques:
- Tree Farming: Plant saplings close together to grow a forest quickly. Use an axe with the Efficiency enchantment to harvest wood faster.
- Branch Mining: This technique helps you gather stone, cobblestone, and ores. Digging a main corridor with branching tunnels increases your chances of finding valuable materials.
- Villager Trading: Villagers often trade various building materials, including terracotta and wool. Build a trading hall to make this process efficient.
Basic Floor Construction: Layer by Layer Guide
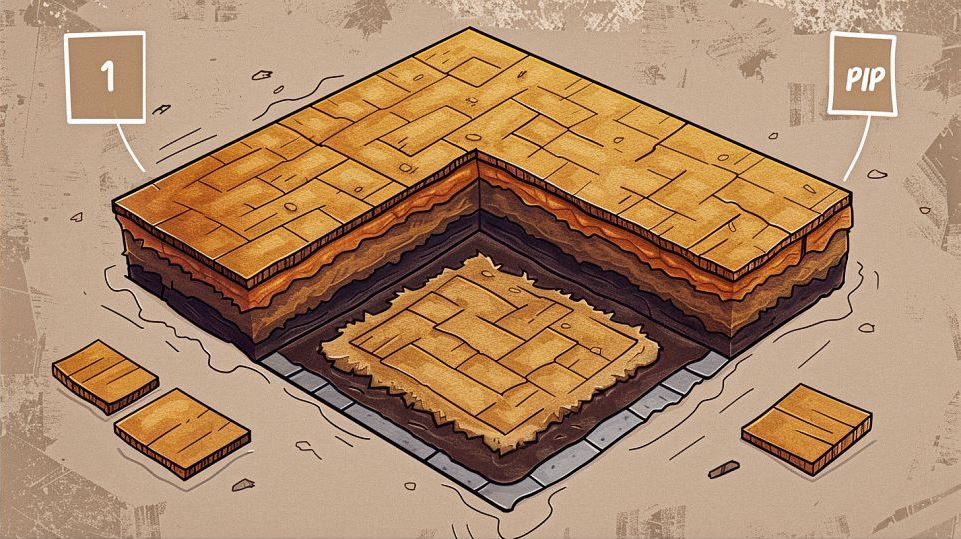
Building a floor in Minecraft involves more than just placing blocks. A well-constructed floor can enhance both the functionality and aesthetics of your build.
Step-by-Step Guide:
- Clear the Area: Ensure the surface where you plan to build is flat. Use a shovel to remove any dirt or grass.
- Lay the Foundation: If building on uneven terrain, place a layer of solid blocks like stone or wood planks to create a level foundation.
- Choose Your Pattern: Decide on the pattern before you start. Whether it’s a simple design or a complex mosaic, planning ahead saves time.
- Place the Blocks: Start placing your chosen blocks in the planned pattern. Work from one end to the other to maintain consistency.
- Add Details: Once the main floor is laid, consider adding details like borders or rugs using different blocks or carpets.
Advanced Techniques: Using Redstone for Interactive Floors
Redstone can turn ordinary floors into interactive masterpieces. By integrating Redstone mechanisms, you can create floors that do more than just look good.
Interactive Floor Ideas:
- Hidden Doors: Use Redstone to create a floor that slides open, revealing a hidden staircase or room below.
- Pressure Plates: Place pressure plates on the floor to trigger lights, doors, or traps.
- Piston Elevators: Build a piston elevator in your floor for a sleek, space-saving way to travel between levels.
Building a Hidden Door:
- Dig a Hole: Start by digging a hole where the hidden door will be.
- Place Pistons: Arrange sticky pistons to push and pull floor blocks.
- Add Redstone: Connect the pistons with Redstone dust and Redstone torches.
- Cover Up: Place floor blocks over the pistons. Use pressure plates or levers to activate the mechanism.
Customizing with In-Game Features: Banners, Signs, and Item Frames
Customizing your floors with in-game features can add personality and functionality to your builds.
Using Banners:
- Rugs and Carpets: Place banners on the floor to mimic rugs. Arrange them in patterns for added style.
- Signposts: Use banners to create visual signposts on the floor, marking different areas.
Signs and Item Frames:
- Labels: Place signs on the floor to label rooms or sections, especially useful in large builds.
- Decorations: Use item frames to display maps, compasses, or even enchanted books on the floor for a unique touch.
Designing for Different Biomes and Themes
Different biomes in Minecraft offer unique building opportunities. Tailoring your floor designs to match the surrounding environment can enhance the overall aesthetic of your builds.
Biome-Specific Floors:
- Desert Biome: Use sandstone and red sand for a warm, earthy look. Incorporate cactus green carpets for contrast.
- Forest Biome: Wooden floors, especially oak and birch, blend seamlessly. Add leaf blocks or flower pots for decoration.
- Snowy Biome: White wool or snow blocks create a wintry feel. Use ice blocks sparingly for an icy touch.
Theme-Based Designs:
- Medieval Castles: Stone bricks, cobblestone, and mossy stone create a rugged, ancient look. Add wooden planks for warmth.
- Modern Homes: Smooth quartz and concrete offer a sleek, clean finish. Use sea lanterns for integrated lighting.
- Underwater Bases: Prismarine and sea lanterns blend perfectly with the aquatic environment. Incorporate coral blocks for vibrant accents.
By mastering these techniques and ideas, you can transform your Minecraft floors into works of art that are both functional and visually stunning. So grab your pickaxe, gather your materials, and start building floors that will impress anyone who steps foot in your Minecraft world!
Practical Tips and Inspiration for Minecraft Floor Designs
Efficiency and Functionality: Floors for Storage Rooms
When designing floors for storage rooms in Minecraft, efficiency is key. You want a layout that maximizes space and accessibility while maintaining durability.
Tips for Efficiency:
- Use Slabs: Slabs allow you to double the surface area without increasing the block height, making it easier to navigate around storage containers.
- Organize with Chests: Group chests together based on item type for easy organization and retrieval. Consider using different colored chests to visually distinguish between categories.
- Labeling: Place signs or item frames with labels above chests to quickly identify contents. This prevents unnecessary searching and saves time.
Functionality Considerations:
- Mob-Proofing: Ensure your storage room is well-lit to prevent hostile mobs from spawning and damaging your items.
- Accessibility: Design pathways wide enough for easy movement, even when carrying bulky items or wearing armor.
- Durability: Choose materials like stone bricks or concrete for the floor to withstand heavy foot traffic and potential spills.
Aesthetic Appeal: Creating Beautiful Living Spaces
Creating visually appealing floors adds character and charm to your Minecraft builds. Whether you’re designing a cozy cottage or a majestic castle, aesthetics play a crucial role in setting the mood.
Design Elements for Aesthetic Appeal:
- Texture Variation: Mix different block types and textures to add depth and interest to your floors. Consider incorporating patterned designs for extra flair.
- Color Coordination: Choose colors that complement the overall theme of your build. Experiment with contrasting or harmonizing color schemes to achieve the desired effect.
- Decorative Accents: Enhance your floors with decorative elements like carpets, rugs, or intricate patterns using blocks like terracotta or glazed terracotta.
Inspiration from Real-World Architecture:
- Victorian Elegance: Incorporate intricate tile patterns or wood paneling reminiscent of Victorian-era homes.
- Japanese Zen: Create a tranquil atmosphere with clean lines, minimalist decor, and natural materials like wood and stone.
- Modern Chic: Opt for sleek, polished surfaces with bold geometric patterns and vibrant accents for a contemporary look.
Safety First: Using Non-Flammable Materials
In Minecraft, safety is paramount, especially when designing floors that are susceptible to fire damage. Choosing non-flammable materials ensures the longevity and integrity of your builds.
Non-Flammable Materials:
- Stone: Stone blocks like cobblestone, stone bricks, and polished andesite are resistant to fire and provide a solid foundation for floors.
- Concrete: Concrete blocks and their colored variants offer both durability and versatility, making them ideal for modern builds.
- Terracotta: Terracotta and glazed terracotta blocks are not flammable and come in a wide range of colors and patterns for creative floor designs.
Preventative Measures:
- Fireproofing: Surround potential fire hazards like furnaces or fireplaces with non-flammable blocks to contain flames and prevent spreading.
- Avoid Lava: Be cautious when building near lava sources, as they can ignite flammable materials nearby. Use non-flammable blocks as a barrier.
Multiplayer Builds: Collaborating on Floor Designs
Collaborating with other players on floor designs in multiplayer Minecraft adds a new dimension of creativity and teamwork. Whether you’re building with friends or participating in a community project, effective communication and coordination are essential.
Tips for Collaboration:
- Plan Together: Discuss design ideas and preferences with your teammates to ensure everyone is on the same page.
- Assign Roles: Divide tasks based on each player’s strengths and interests. Assign someone to gather materials, another to lay out the floor plan, and so on.
- Provide Feedback: Offer constructive feedback and suggestions to improve the overall design. Collaboration is about working together to achieve the best result.
Community Builds:
- Public Spaces: Collaborate on designing floors for public areas like town squares, marketplaces, or communal buildings in multiplayer servers.
- Themed Builds: Organize themed building events where players work together to create cohesive floor designs that fit a specific theme or aesthetic.
Showcasing Your Floors: Tips for Screenshots and Sharing Online
Once you’ve created stunning floor designs in Minecraft, it’s time to showcase your creativity to the world. Sharing screenshots and builds online allows you to inspire others and receive feedback from the Minecraft community.
Tips for Screenshots:
- Choose the Right Angle: Experiment with different camera angles to capture the best view of your floor design. Consider using shaders or texture packs to enhance visual appeal.
- Natural Lighting: Take screenshots during the day or in well-lit areas to showcase the details and colors of your floors.
- Include Context: Surround your floor design with complementary elements like furniture, decorations, or landscaping to provide context and convey the overall atmosphere.
Sharing Online:
- Social Media: Share screenshots of your floor designs on platforms like Twitter, Instagram, or Reddit using relevant hashtags and tags to reach a wider audience.
- Minecraft Communities: Join Minecraft forums, Discord servers, or online communities dedicated to sharing builds and design inspiration. Participate in build challenges or contests to showcase your skills and connect with fellow players.
By following these practical tips and drawing inspiration from various sources, you can create captivating floor designs in Minecraft that not only look great but also enhance the functionality and enjoyment of your builds. So roll up your sleeves, gather your materials, and let your creativity flow as you embark on your next flooring project in Minecraft!

