How to Paint Armor in Minecraft: Ultimate Guide

How to Paint Armor in Minecraft: A Step-by-Step Guide
Gathering the Necessary Materials: Dyes and Armor Types
If you’re wondering how to paint armor in Minecraft, you’re in the right place. Before diving into the process, it’s crucial to gather all the necessary materials. First, you’ll need the dyes. Minecraft offers a variety of dyes, such as red from poppies, blue from lapis lazuli, and yellow from dandelions. You can find these materials scattered across different biomes, so keep an eye out while exploring.
Contents
ToggleOnce you’ve collected the dyes, you’ll need armor to dye. In Minecraft, you can dye leather armor, which consists of a leather cap, tunic, pants, and boots. Leather armor is the only type you can customize with colors, making it a fantastic choice for personalizing your look. Remember, leather armor can be crafted using leather obtained from cows, horses, or llamas. Simply combine leather pieces in a crafting table to create each part of the armor set.
Crafting a Cauldron and Water Bucket: Essential Tools for Dyeing
Now that you have your dyes and leather armor, you’ll need a cauldron and a water bucket. These tools are essential for the dyeing process. Crafting a cauldron requires seven iron ingots, arranged in a “U” shape in the crafting table. Iron ingots can be smelted from iron ore found underground.
Next, you’ll need a water bucket. To craft a bucket, use three iron ingots in a “V” shape in the crafting table. Fill the bucket with water by right-clicking on a water source block. With your water bucket ready, right-click on the cauldron to fill it with water. The cauldron should now be full, and you’re set to start dyeing your armor.
Applying the Dye: Step-by-Step Instructions for Each Armor Piece
With your materials and tools prepared, it’s time to apply the dye to your armor. Follow these step-by-step instructions to ensure your armor looks exactly how you want it.
-
Choose Your Dye Color: Decide which color you want for your armor. You can mix dyes in a crafting table to create custom colors. For instance, combining red and yellow dyes creates orange.
-
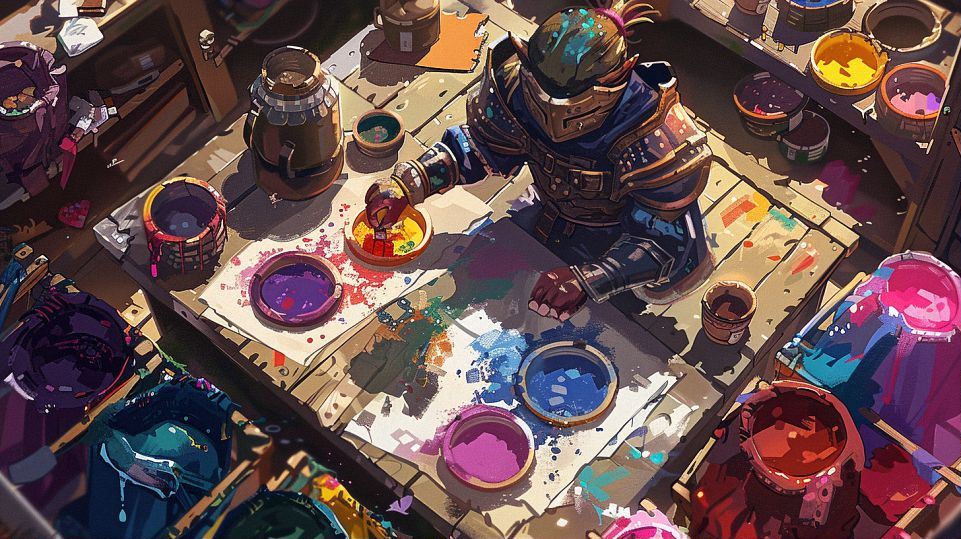
Dye the Water: Right-click the cauldron with the dye in hand. The water in the cauldron will change to the dye’s color, indicating it’s ready for use.
-
Dyeing the Armor: With the cauldron filled with colored water, right-click on the cauldron with a piece of leather armor in your hand. The armor will absorb the dye, changing its color to match the water.
-
Repeat for Each Armor Piece: Repeat the process for each piece of leather armor—helmet, chestplate, leggings, and boots. You can use different dyes for each piece or the same color for a uniform look.
-
Customizing Colors Further: If you want to adjust the color, you can dye the armor multiple times. For example, dyeing blue armor with yellow dye will turn it green. Experiment with different combinations to find your perfect shade.
Painting armor in Minecraft is a fun way to express your creativity and stand out in the game. By following these steps and using the right materials, you can craft unique armor that reflects your style. So grab your dyes, fill your cauldron, and start customizing your Minecraft armor today!
Creative Ideas for Armor Customization
Using Multiple Dyes for Unique Color Combinations
One of the most exciting aspects of painting armor in Minecraft is the ability to create unique color combinations using multiple dyes. This opens up a world of possibilities for players who want to stand out with their custom armor designs. So, how can you achieve these stunning combinations?
Start by experimenting with primary colors. For instance, combining red and blue dyes can give you a vibrant purple hue, while mixing blue and yellow can produce a lively green. You can mix these dyes directly on the crafting table to see the new colors immediately. For more nuanced shades, you can blend multiple dyes. Imagine creating a cool teal by mixing blue and green dyes or a rich orange by blending red and yellow.
To apply these colors, simply follow the standard dyeing process with your leather armor pieces. Fill a cauldron with water, add your dye mix, and dip each piece of armor. You can dye each part of your armor set a different color, or keep a consistent theme by dyeing them all with the same mix. The key is to let your creativity run wild and not be afraid to experiment with different combinations until you find the perfect look.
Creating Themed Armor Sets: Superheroes, Fantasy Characters, and More
One way to take your armor customization to the next level is by creating themed armor sets. Whether you’re a fan of superheroes, fantasy characters, or other iconic figures, you can use dyes to bring these themes to life in Minecraft.
For superhero-themed armor, think about the iconic colors associated with your favorite characters. For example, you could create a red and blue set to resemble Spider-Man or a green and yellow combination for a Green Lantern-inspired look. By using specific color schemes, you can easily distinguish your armor set from others and pay homage to your favorite heroes.
Fantasy characters offer another rich vein of inspiration. Consider creating an elven archer set with shades of green and brown or a dark mage ensemble using blacks and purples. Themed sets not only look fantastic but also add a layer of role-playing fun to your Minecraft adventures. You can even get your friends involved and create a whole team of themed characters, each with their unique, dyed armor.
Incorporating Patterns and Designs: Stripes, Polka Dots, and Gradients
Beyond solid colors, Minecraft allows for more intricate designs on your armor, such as stripes, polka dots, and gradients. These patterns can be achieved by using a combination of dyes and the right techniques.
Stripes: To create striped armor, dye your leather armor one color first. Then, use a secondary dye color and apply it in a way that leaves parts of the original color showing. This can be done by using less dye in the cauldron or by dipping only parts of the armor in the dyed water.
Polka Dots: For polka dots, you’ll need a similar approach. Dye the armor with a base color first. Then, apply small amounts of a contrasting dye in specific spots to create the dot effect. This requires a bit of precision but results in a fun and whimsical look.
Gradients: Creating gradients can add a professional touch to your armor. Start with a light base color and gradually dip your armor into darker dye mixtures. This layering technique will create a seamless gradient effect, making your armor look more dynamic and visually appealing.
By incorporating these patterns and designs, you can transform your leather armor into a true work of art. Not only will you look great, but you’ll also show off your Minecraft skills and creativity to your friends and fellow players.
So, go ahead and experiment with multiple dyes, themed sets, and intricate designs. The possibilities are endless, and your customized armor will make you the star of your Minecraft world!
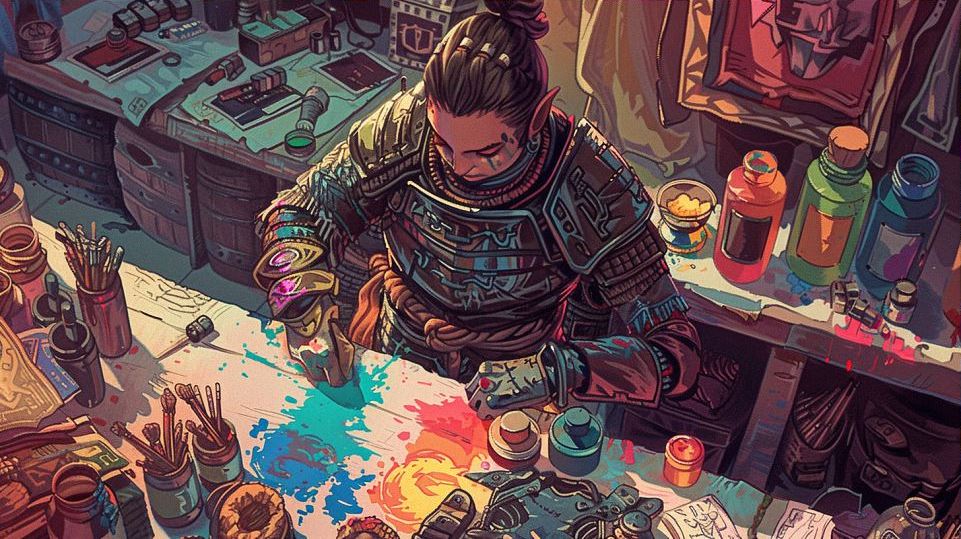
Advanced Tips and Tricks for Armor Decoration
Using Mods and Texture Packs for Enhanced Visuals
Want to take your armor decoration to the next level? Using mods and texture packs can significantly enhance the visual appeal of your Minecraft armor. These tools allow you to add more detailed textures, unique colors, and even entirely new armor designs that aren’t available in the base game.
Mods: One popular mod is OptiFine, which not only improves the game’s performance but also provides high-definition textures and enhanced graphics options. Another mod, Chisel, introduces a variety of new blocks and designs, allowing for more intricate armor patterns. For those who love a bit of fantasy, the Twilight Forest mod offers new realms and gear, perfect for themed armor sets.
Texture Packs: Texture packs, like the famous Faithful or Sphax PureBDCraft, can dramatically change the look and feel of your armor. Faithful retains the original Minecraft style but with higher resolution, making your dyed armor look sharper and more detailed. On the other hand, Sphax PureBDCraft offers a cartoonish style that can give your armor a fun, whimsical appearance.
By integrating these mods and texture packs, you can create armor that truly stands out and showcases your creative flair. The best part? Many of these mods and packs are free and come with easy-to-follow installation guides.
Showcasing Your Armor: Display Stands and In-Game Screenshots
Once you’ve spent time customizing your armor, you’ll want to show it off! Minecraft offers several ways to showcase your creations, both in-game and through sharing screenshots.
Display Stands: Armor stands are a great way to display your dyed armor sets. Craft an armor stand using six sticks and a smooth stone slab. Place the stand in a prominent location, such as your base or a dedicated gallery space. Arrange multiple stands to exhibit different armor themes and color combinations. This not only keeps your armor organized but also lets you enjoy your designs every time you pass by.
In-Game Screenshots: Taking in-game screenshots is another fantastic way to share your creations. Use the F2 key on your keyboard to capture the current screen. For a more cinematic shot, press F1 to hide the user interface before taking the screenshot. Share these images with friends or on social media platforms to showcase your unique armor designs.
For an added touch, consider using shaders like SEUS (Sonic Ether’s Unbelievable Shaders) or BSL Shaders to make your screenshots pop with enhanced lighting and shadows. This will make your armor look even more impressive and help you stand out in the Minecraft community.
Armor Dyeing Challenges: Fun Activities to Try with Friends
Looking for fun ways to engage with friends while showcasing your armor dyeing skills? Try setting up armor dyeing challenges! These activities are perfect for adding a competitive edge and sparking creativity.
Timed Dyeing Challenge: Set a timer for 10 minutes and see who can create the most impressive armor set within the time limit. Use a variety of dyes and patterns to make each piece unique. When time’s up, compare your creations and vote on the best one. The winner gets bragging rights or a small in-game reward.
Themed Armor Contest: Choose a theme, such as superheroes, mythical creatures, or historical figures, and have everyone create armor sets based on that theme. This challenge encourages players to think outside the box and come up with creative interpretations. Hold a showcase event where everyone presents their armor, and have a group vote to determine the winner.
Color Matching Game: For this challenge, one player picks a color combination and shows it to the group. Everyone else has to recreate that combination as closely as possible using the dyes they have. This game tests players’ ability to mix and match dyes accurately. The player who gets the closest match wins.
These armor dyeing challenges not only provide a fun way to interact with friends but also inspire you to experiment with new designs and techniques. So, grab your dyes, gather your friends, and dive into the colorful world of Minecraft armor customization!

