How to Make a Trap in Minecraft: Expert Strategies
Building Basics for Beginners
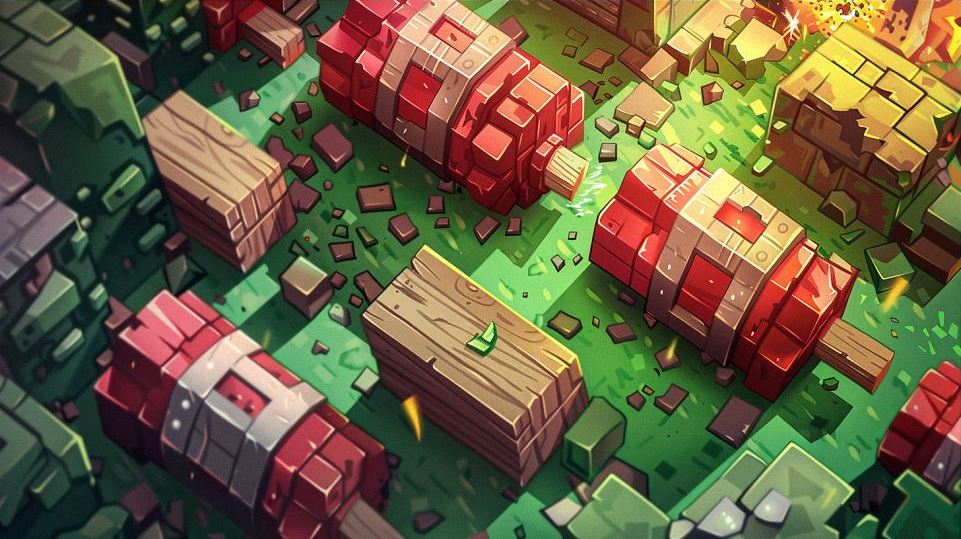
In Minecraft, mastering the art of trap-making can be both thrilling and rewarding. Whether you’re looking to catch pesky mobs or prank your friends, understanding the basics is crucial for success. Let’s dive into the foundational steps to craft your very own trap.
Contents
ToggleGather Your Materials
Before diving into construction, you’ll need to gather the necessary materials. Here’s a rundown of what you’ll need:
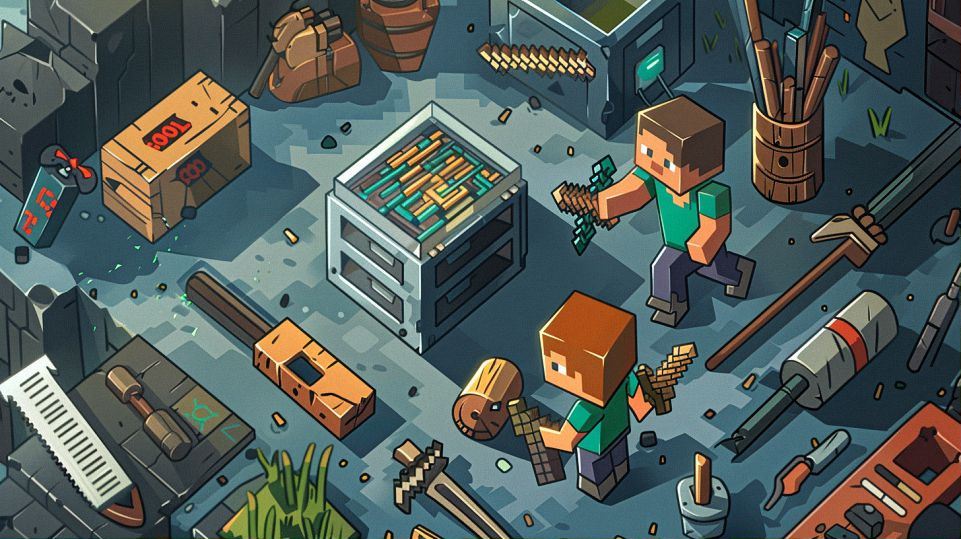
- Blocks: Choose sturdy blocks like stone, wood, or obsidian for your trap’s structure.
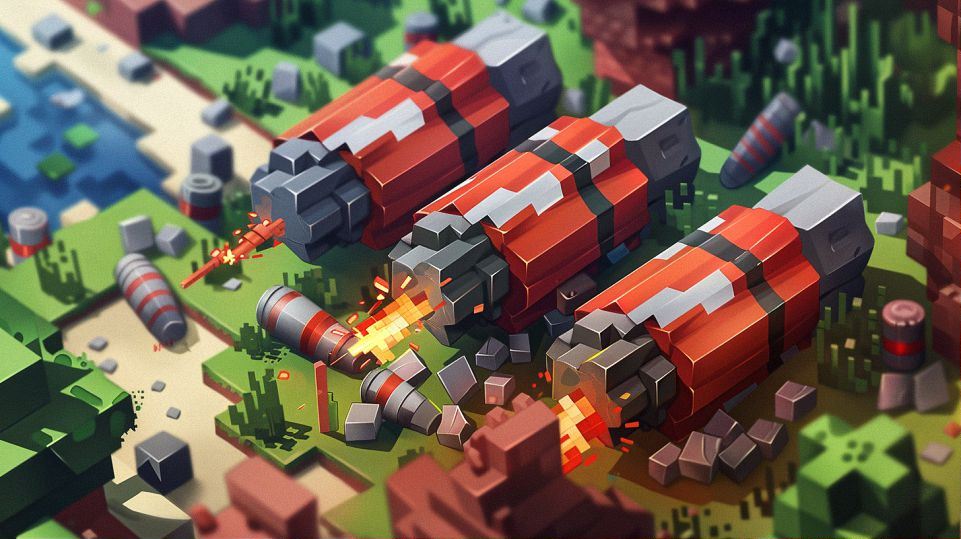
- Redstone Components: Stock up on redstone dust, repeaters, comparators, and any other components needed for your trap’s mechanisms.
- Bait: Consider what will lure mobs into your trap. Whether it’s a pile of shiny items or a cleverly disguised entrance, bait is essential.
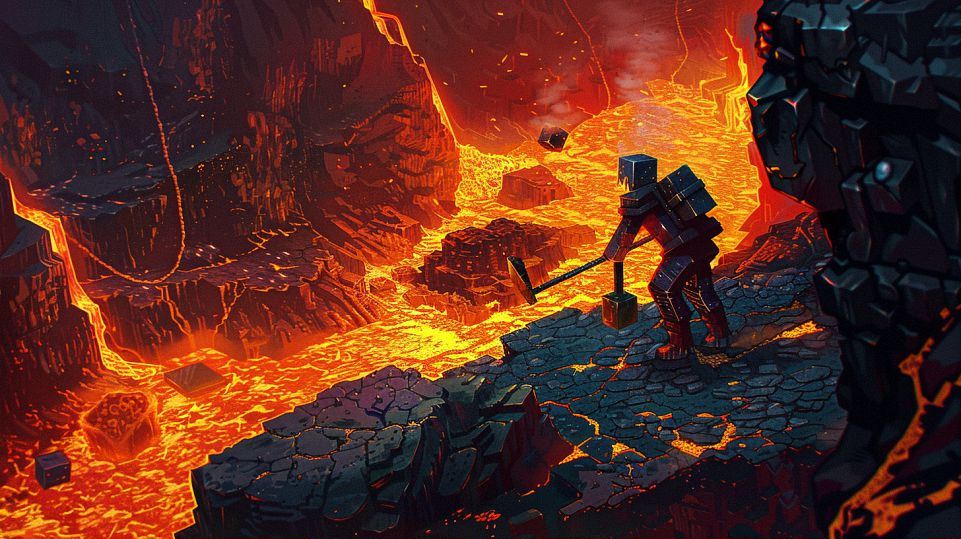
- Tools: Ensure you have the right tools for building and mining. A sturdy pickaxe and shovel will come in handy.
Once you’ve gathered your materials, find a spacious area to begin construction.
Choose the Right Location
Location is key when building a trap in Minecraft. Consider the following factors:
- Mob Spawning: Choose an area where mobs frequently spawn, such as dark caves or forests at night.
- Accessibility: Ensure your trap is easily accessible for both mobs and players. Avoid building too close to cliffs or obstacles.
- Concealment: For a successful trap, it’s essential to blend in with the surroundings. Consider natural terrain features or camouflage techniques to conceal your trap.
By selecting the right location, you’ll increase the chances of capturing unsuspecting mobs.
Plan Your Trap Design
Before placing a single block, take some time to plan your trap design. Here’s a step-by-step guide:
- Define Your Objective: Determine the purpose of your trap. Are you aiming to collect resources, eliminate hostile mobs, or simply have fun with friends?
- Sketch Your Design: Use pen and paper or digital tools to sketch out your trap design. Consider dimensions, entry points, and escape routes.
- Incorporate Redstone Mechanics: If your trap requires redstone mechanisms, plan their placement and wiring carefully. Test circuits in creative mode to ensure functionality.
- Safety Measures: Consider any potential hazards, such as suffocation or drowning, and implement safety measures to prevent accidents.
By thoroughly planning your trap design, you’ll save time and resources in the long run and increase the chances of success.
Now that you’ve laid the groundwork, it’s time to roll up your sleeves and start building your trap in Minecraft. Remember, practice makes perfect, so don’t be afraid to experiment and refine your designs as you go. Happy trapping!
Crafting Your Trap
In Minecraft, the crafting process is where your trap truly comes to life. Let’s delve into the intricate steps of bringing your design to fruition.
Building the Structure
Lay the Foundation
Every great trap begins with a solid foundation. Start by clearing the ground and laying down your chosen blocks. Remember, stability is key, so ensure your foundation is level and secure. Consider using a mixture of stone, wood, or even obsidian for added durability.
Construct Walls and Floors
With the foundation in place, it’s time to build up your trap’s structure. Erect sturdy walls around the perimeter, making sure to leave space for entrances and exits. Experiment with different block types and patterns to add visual interest and camouflage. For floors, opt for materials that won’t easily break under pressure, such as stone or reinforced wood.
Add Entrances and Exits
Strategically placed entrances and exits are essential for luring mobs into your trap and safely navigating through it yourself. Create enticing openings using trapdoors, pressure plates, or even hidden levers. Be sure to include secret exits for quick escapes or surprise attacks.
Installing Redstone Mechanisms
Understanding Redstone Basics
Redstone is the lifeblood of any intricate trap mechanism. Before diving in, take some time to familiarize yourself with its properties. Learn how to transmit signals, power devices, and create complex circuits. Start small with basic switches and gates before tackling more advanced mechanisms.
Wiring Your Trap
Once you’ve grasped the basics, it’s time to wire up your trap. Carefully plan the layout of your redstone circuits, ensuring they’re hidden from view to maintain the element of surprise. Use repeaters and comparators to extend signals and control timing. Don’t forget to incorporate pressure plates or tripwires for seamless activation.
Testing and Troubleshooting
No trap is complete without thorough testing. Put your creation through its paces to ensure everything functions as intended. Watch for any glitches or malfunctions and make adjustments as needed. Experiment with different mob types and scenarios to fine-tune your trap’s effectiveness.
As you craft your trap in Minecraft, remember that patience and persistence are key. Embrace the iterative process of design, testing, and refinement, and don’t be afraid to get creative with your solutions. With dedication and ingenuity, you’ll soon be the master of traps in the Minecraft world.
Putting Your Trap to Work
Now that your trap is built, it’s time to unleash its full potential. Let’s explore how to effectively bait, activate, and customize your trap for maximum efficiency and enjoyment.
Baiting and Luring Mobs
Choosing the Right Bait
Selecting the perfect bait is essential for attracting unsuspecting mobs into your trap. Consider the preferences of your target mobs and tailor your bait accordingly. Whether it’s a pile of shiny items to lure in zombies or a tempting trail of seeds for chickens, choose bait that appeals to your desired catch.
Using Tactics to Attract Mobs
In addition to bait, employing strategic tactics can increase your trap’s effectiveness. Experiment with lighting conditions, mob spawners, and terrain features to create an enticing environment for mobs. Remember to consider the time of day and specific mob behaviors when implementing your tactics.
Activating and Resetting Your Trap
Remote Activation Methods
Remote activation methods add an element of surprise to your trap. Explore options such as pressure plate triggers, tripwire hooks, or even redstone-powered mechanisms to remotely activate your trap from a safe distance. With remote activation, you can catch mobs off guard and minimize your exposure to danger.
Manual Resetting Techniques
After successfully capturing mobs, it’s essential to reset your trap for future use. Develop efficient manual resetting techniques to streamline this process. Utilize trapdoors, pistons, or lever-operated gates to reopen entrances and reset mechanisms quickly. With practice, you’ll be able to reset your trap with ease, ensuring it’s always ready for action.
Maximizing Efficiency and Fun
Customizing Your Trap Design
No two traps are alike, so don’t be afraid to customize your design to suit your playstyle. Experiment with different layouts, mechanisms, and bait strategies to find what works best for you. Whether you prefer a straightforward pitfall trap or a complex maze of corridors, let your creativity run wild and tailor your trap to your preferences.
Tips for Safe and Enjoyable Trapping
Safety should always be a top priority when trapping mobs in Minecraft. Avoid hazardous traps that could harm players or unintended targets, and always test your trap thoroughly before use. Additionally, remember that trapping mobs is just one aspect of the game—don’t forget to have fun! Experiment with new ideas, challenge yourself with unique traps, and enjoy the satisfaction of outsmarting your virtual foes.
With these strategies in mind, you’re ready to put your trap to work in the exciting world of Minecraft. Happy trapping!