How to Make a Picture in Minecraft: Ultimate Guide
Getting Started with Minecraft Pixel Art
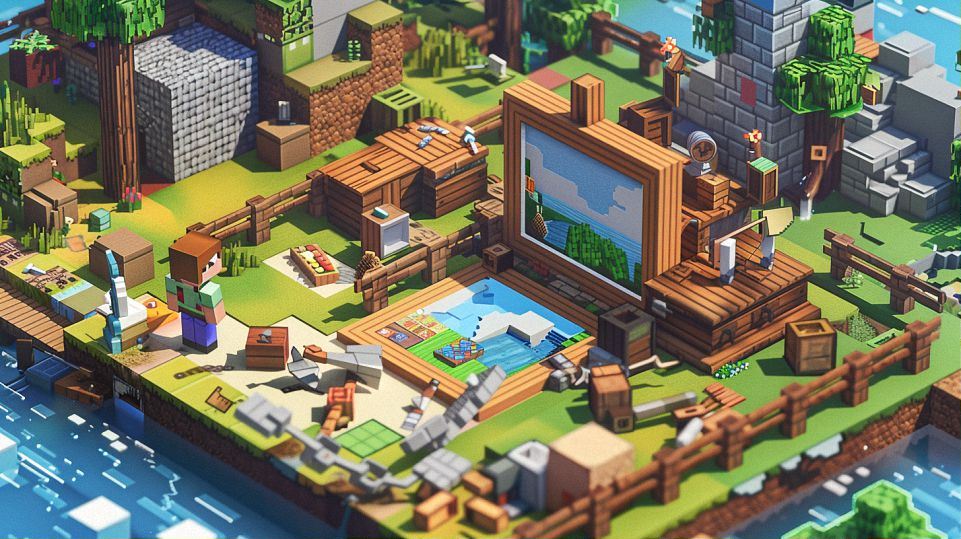
So, you’ve got the Minecraft bug, and now you’re itching to express your creativity through pixel art? Let’s dive into the world of Minecraft pixel art and get you started on your artistic journey!
Contents
ToggleUnderstanding Pixel Art
Pixel art is like the LEGO of the digital world. It’s all about creating images using tiny squares called pixels. In Minecraft, each block represents a pixel, allowing you to create detailed artworks within the game’s blocky environment.
What are Pixels?
Pixels are the building blocks of digital images. Think of them as the smallest units of color that make up a picture. In Minecraft, each block represents a pixel, giving you the freedom to create intricate designs within the game’s grid-based world.
How Pixel Art Works in Minecraft
In Minecraft, you have a vast array of blocks at your disposal, each with its own color and texture. By strategically placing these blocks, you can create stunning pixel art designs. The key is to think of each block as a pixel and plan your design accordingly.
Tools and Techniques for Creating Pixel Art
Now that you understand the basics of pixel art, let’s explore the tools and techniques you’ll need to bring your creations to life in Minecraft.
Choosing the Right Materials
Not all blocks are created equal when it comes to pixel art. Some blocks are better suited for certain details or textures, so it’s essential to choose the right materials for your design.
- Basic Blocks and Colors: Start with the fundamental building blocks of Minecraft, such as wool, concrete, or terracotta, which come in a variety of vibrant colors.
- Specialty Blocks for Detail: For more intricate designs, consider using specialty blocks like glass panes, trapdoors, or stairs to add depth and detail to your pixel art.
Planning Your Design
Before you start placing blocks, it’s crucial to have a clear plan for your pixel art design. Sketching out your idea on paper or using digital tools can help you visualize your creation and make adjustments before diving into Minecraft.
- Sketching Your Idea: Grab a pencil and paper or fire up your favorite drawing software and sketch out your pixel art design. Pay attention to proportions and details to ensure your design translates well into Minecraft.
- Translating Your Design to Minecraft: Once you have your sketch, it’s time to translate it into Minecraft. Use your sketch as a guide to determine which blocks you’ll need and how to arrange them to recreate your design in the game.
Step-by-Step Guide to Making Pixel Art in Minecraft
With your materials in hand and your design planned out, it’s time to bring your pixel art to life in Minecraft. Follow these steps to create your masterpiece:
Building the Canvas
Start by setting up your workspace in Minecraft. Choose a flat area to work on and create a grid using blocks to serve as your canvas. Consider the scale of your design and adjust the size of your canvas accordingly.
- Setting Up Your Workspace: Clear out any obstacles and create a flat surface to work on. This will make it easier to build your pixel art without interference.
- Choosing the Right Scale: Decide on the scale of your pixel art and create a grid using blocks to match. Larger designs will require a larger canvas, while smaller designs can fit on a more compact grid.
Creating Your Pixel Art
Once your canvas is ready, it’s time to start building your pixel art in Minecraft. Follow your design sketch closely, placing blocks strategically to recreate your design one pixel at a time.
- Placing Blocks Strategically: Place blocks carefully, following your design sketch pixel by pixel. Pay attention to color and texture to ensure your pixel art looks as intended.
- Adding Depth and Detail: Use different block types and orientations to add depth and detail to your pixel art. Experiment with layering and shading to create more complex designs.
With these tools and techniques, you’re well on your way to becoming a Minecraft pixel art master! So grab your blocks and let your creativity run wild as you bring your pixel art dreams to life in the world of Minecraft.
Tools and Techniques for Creating Pixel Art
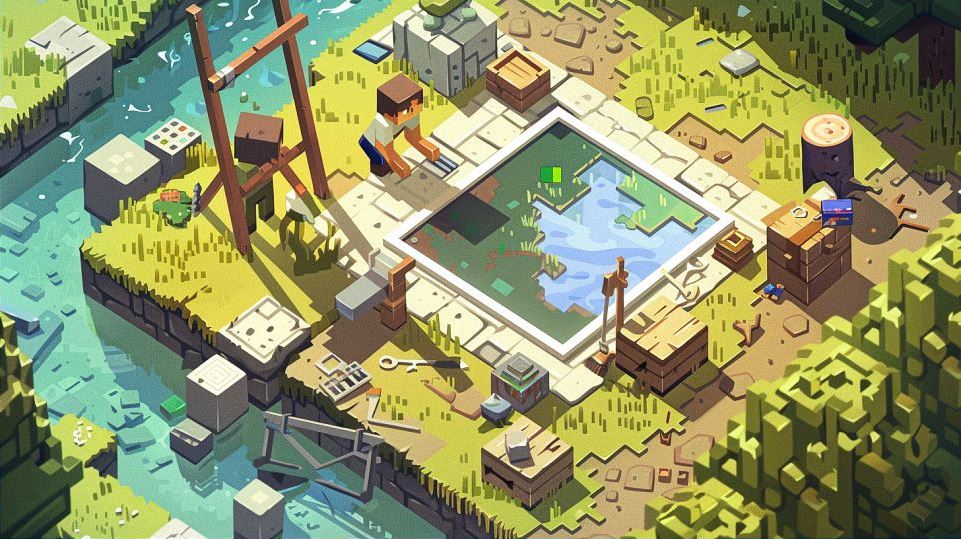
So, you’re ready to dive into the world of Minecraft pixel art and unleash your creativity? Let’s equip you with the essential tools and techniques to craft stunning pixel masterpieces within the blocky universe of Minecraft.
Choosing the Right Materials
When it comes to creating pixel art in Minecraft, not all blocks are created equal. Each block has its own unique texture and color, making some better suited for certain details or effects than others. Let’s take a closer look at the materials you’ll need:
-
Basic Blocks and Colors: Start with the basics by selecting blocks that come in a wide range of colors, such as wool, concrete, or terracotta. These versatile blocks will serve as the foundation for your pixel art creations, allowing you to create vibrant and eye-catching designs.
-
Specialty Blocks for Detail: To add depth and detail to your pixel art, consider incorporating specialty blocks like glass panes, trapdoors, or stairs. These blocks can be used to create intricate textures and shading effects, giving your pixel art a more polished and professional look.
Planning Your Design
Before you start placing blocks in Minecraft, it’s essential to have a clear plan for your pixel art design. Sketching out your idea beforehand will help you visualize the final product and make any necessary adjustments. Here’s how to plan your design effectively:
-
Sketching Your Idea: Grab a pencil and paper or use digital drawing software to sketch out your pixel art design. Pay attention to proportions, symmetry, and details to ensure your design translates well into Minecraft.
-
Translating Your Design to Minecraft: Once you have your sketch, it’s time to bring it to life in Minecraft. Use your sketch as a guide to determine which blocks you’ll need and how to arrange them to recreate your design within the game’s grid-based world.
Step-by-Step Guide to Making Pixel Art in Minecraft
Now that you have your materials and design plan ready, let’s walk through the step-by-step process of creating pixel art in Minecraft:
Building the Canvas
Start by selecting a suitable location in Minecraft to build your pixel art. Clear out any obstacles and create a flat surface to work on. Consider the scale of your design and create a grid using blocks to serve as your canvas.
-
Setting Up Your Workspace: Prepare your workspace by clearing out any unwanted blocks or structures and creating a flat surface to work on. This will provide you with a clean canvas to bring your pixel art to life.
-
Choosing the Right Scale: Decide on the scale of your pixel art and create a grid using blocks to match. Larger designs will require a larger canvas, while smaller designs can fit on a more compact grid.
Creating Your Pixel Art
With your canvas ready, it’s time to start placing blocks and bringing your pixel art to life. Follow your design plan closely, placing blocks strategically to recreate your design one pixel at a time.
-
Placing Blocks Strategically: Carefully place blocks according to your design plan, paying attention to color, texture, and placement. Start with the outlines and then fill in the details, working pixel by pixel to achieve the desired effect.
-
Adding Depth and Detail: Use different block types and orientations to add depth and detail to your pixel art. Experiment with layering, shading, and perspective to create more complex designs that stand out in the Minecraft world.
With these tools and techniques at your disposal, you’re well on your way to creating stunning pixel art masterpieces in Minecraft. So grab your blocks, unleash your imagination, and let your creativity run wild!
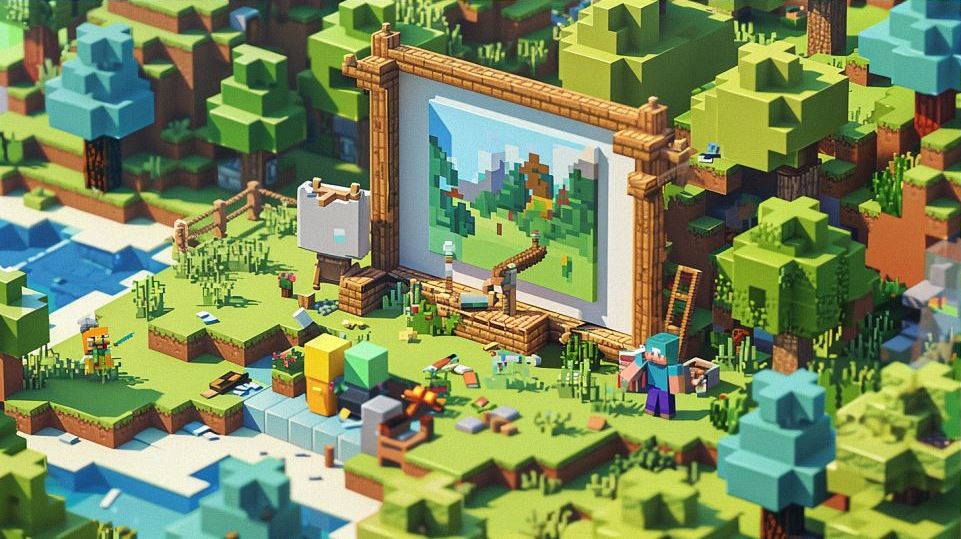
Step-by-Step Guide to Making Pixel Art in Minecraft
Ready to embark on your pixel art adventure in Minecraft? Follow this step-by-step guide to turn your imagination into blocky reality and create stunning pixel art masterpieces.
Building the Canvas
Before you start placing blocks, you need to prepare your canvas. Here’s how:
-
Find the Perfect Location: Choose a flat area in your Minecraft world where you have enough space to work without any obstacles.
-
Clear the Area: Clear out any unwanted blocks or structures to create a clean canvas for your pixel art.
-
Create a Grid: Use blocks to create a grid that will serve as the foundation for your pixel art. The size of your grid will depend on the scale of your design.
Sketching Your Design
Once your canvas is ready, it’s time to sketch out your pixel art design. Here’s how to do it:
-
Grab Some Paper: Take out a piece of paper and a pencil, and sketch out your pixel art design. Pay attention to proportions, symmetry, and details.
-
Plan Your Colors: Decide which blocks you’ll use for each color in your design. Consider using blocks with different textures and shades to add depth and detail.
Translating Your Design to Minecraft
Now that you have your sketch, it’s time to bring it to life in Minecraft. Here’s how to do it:
-
Gather Your Materials: Collect the blocks you’ll need to recreate your design in Minecraft. Organize them so they’re easy to access while you’re building.
-
Start Placing Blocks: Begin by outlining your design with blocks of the appropriate color. Then, fill in the rest of the design, pixel by pixel, following your sketch closely.
-
Add Detail and Texture: Use different block types and orientations to add depth and detail to your pixel art. Experiment with layering and shading to make your design pop.
Finishing Touches
Once your pixel art is complete, it’s time to add some finishing touches:
-
Step Back and Admire Your Work: Take a step back and admire your pixel art from different angles. Make any final adjustments to ensure everything looks just right.
-
Share Your Creation: Show off your pixel art masterpiece to your friends or share it online with the Minecraft community. You can even incorporate it into your Minecraft builds to add a personal touch.
With this step-by-step guide, you’re well on your way to becoming a pixel art pro in Minecraft. So grab your blocks, unleash your creativity, and let your imagination run wild in the blocky world of Minecraft!

