How to Assemble LEGO Minecraft: Expert Tips
Getting Started with LEGO Minecraft Assembly
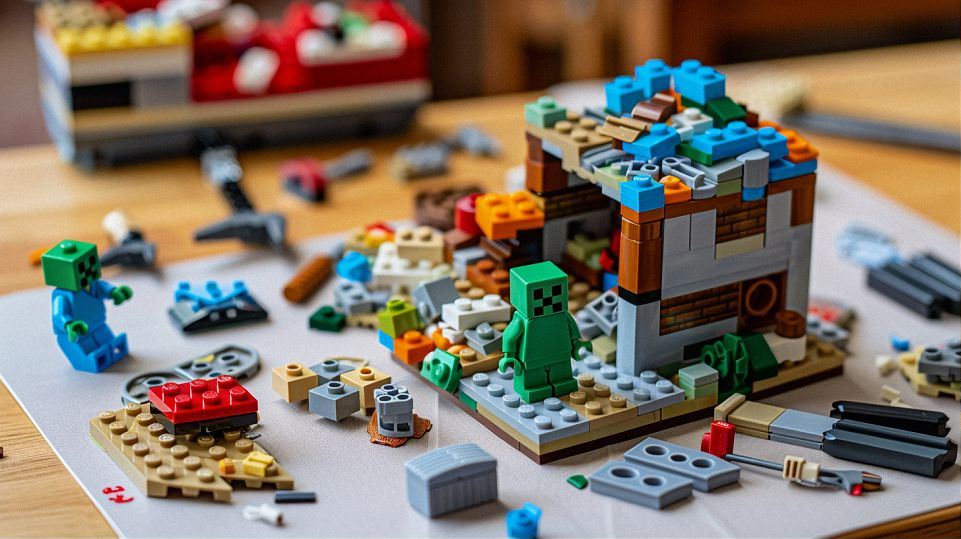
Choosing the Right LEGO Minecraft Set
When diving into the world of LEGO Minecraft, the first step is selecting the perfect set to bring your imagination to life. Let’s explore how to make this decision wisely.
Contents
ToggleExploring Different Themes and Environments
LEGO Minecraft offers a plethora of themes and environments, from lush forests to dangerous dungeons. Are you drawn to the adventure of exploring a mysterious cave system or the tranquility of building a cozy cabin in the woods? Consider the themes that resonate with you or your child’s interests.
Considering Set Size and Complexity
Size matters when it comes to LEGO Minecraft sets. Are you looking for a quick and simple build or a more challenging project that will keep you engaged for hours? Take into account the age and skill level of the builder when selecting the set size and complexity.
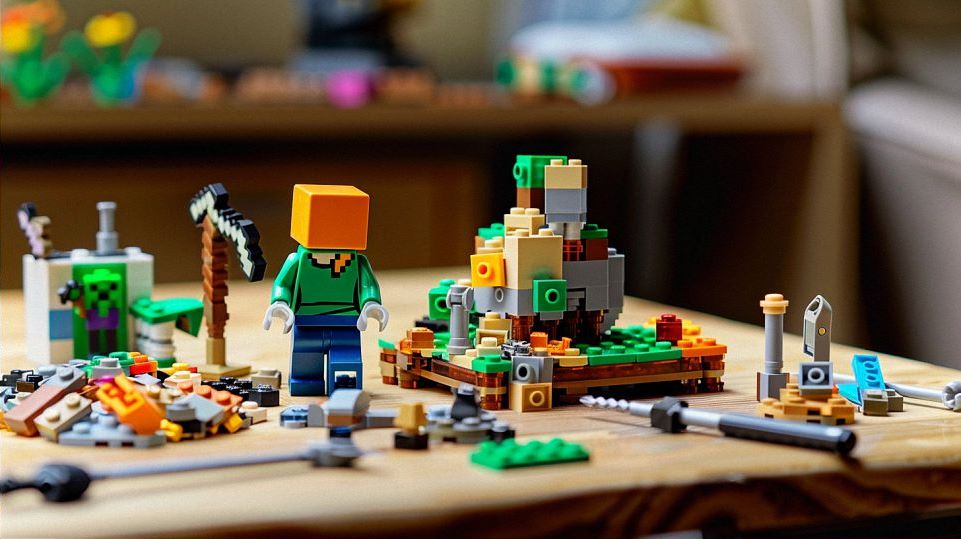
Gathering Your Materials
Before embarking on your LEGO Minecraft journey, it’s essential to gather all the necessary materials to ensure a smooth building process.
Organizing LEGO Pieces by Color and Size
Sorting your LEGO pieces by color and size can save you valuable time during the assembly process. Create separate containers or compartments for each color and size category to easily locate the pieces you need as you build.
Preparing a Spacious Work Area
A clutter-free and spacious work area is key to a successful LEGO building session. Clear off a table or desk and make sure there’s plenty of room to spread out your LEGO pieces and building instructions. This will minimize distractions and help you stay focused on your masterpiece.
Understanding LEGO Building Instructions
LEGO building instructions are your roadmap to success, guiding you through each step of the building process. Let’s delve deeper into how to make the most of these visual guides.
Following Step-by-Step Visual Guides
LEGO building instructions feature step-by-step visual guides that make assembling your set a breeze. Take your time to carefully follow each instruction, ensuring that you place the right pieces in the right places.
Identifying Key Symbols and Brick Types
Pay close attention to key symbols and brick types highlighted in the building instructions. Symbols indicate special building techniques or actions, while different brick types may have specific functions within the set. Understanding these symbols and brick types will help you navigate the instructions with ease.
By following these steps, you’ll be well-equipped to embark on your LEGO Minecraft building adventure with confidence and creativity. So, gather your materials, choose the perfect set, and let your imagination run wild in the world of LEGO Minecraft!
Building Techniques for LEGO Minecraft Creations
Studs-Up vs. Studs-Out Construction
When it comes to building LEGO Minecraft creations, two primary construction techniques dominate the landscape: studs-up and studs-out. Let’s delve into each method and discover their unique characteristics.
Building Structures with Traditional Studs-Up Method
The studs-up construction method is the classic approach to LEGO building, where bricks are stacked vertically, with studs facing upwards. This method provides a sturdy foundation for constructing various structures within your Minecraft world.
With studs-up construction, builders can easily create solid and stable buildings, such as houses, castles, and towers. The interlocking studs ensure that each brick securely connects to the ones below it, resulting in a durable and reliable structure.
Additionally, the studs-up method allows for precise detailing and intricate designs, making it ideal for recreating iconic landmarks from the Minecraft universe. Whether it’s crafting the iconic Creeper face or replicating the grandeur of the End Portal, the studs-up technique offers endless possibilities for creativity.
Exploring Creative Possibilities with Studs-Out Technique
In contrast to the traditional studs-up method, studs-out construction involves building structures horizontally, with studs facing outward. This innovative technique opens up a world of creative possibilities, allowing builders to experiment with unconventional shapes and angles.
Studs-out construction is particularly well-suited for creating natural landscapes and organic structures, such as mountains, caves, and waterfalls. By layering bricks sideways and overlapping them, builders can achieve realistic textures and contours that mimic the rugged terrain of the Minecraft world.
Furthermore, the studs-out technique enables builders to add intricate details and embellishments to their creations. Whether it’s adding vines to a jungle tree or sculpting intricate rock formations, studs-out construction offers unparalleled versatility and artistic freedom.
Incorporating Terrain and Landscapes
A crucial aspect of building immersive LEGO Minecraft worlds is incorporating terrain and landscapes that capture the essence of the game’s diverse environments.
Constructing Custom Terrain Features
To bring your LEGO Minecraft world to life, consider constructing custom terrain features that reflect the unique landscapes found in the game. From rolling hills to sprawling forests, the possibilities are endless.
Start by building a sturdy base for your terrain using large LEGO plates or baseplates. Then, gradually layer bricks and plates to create elevation changes, valleys, and peaks. Experiment with different colors and textures to mimic the natural elements found in the Minecraft universe, such as grass, dirt, and stone.
Adding Realistic Details like Hills, Caves, and Rivers
Once you’ve established the basic terrain, it’s time to add realistic details that enhance the overall aesthetic of your LEGO Minecraft world. Incorporate hills and slopes to add dimensionality to your landscape, and carve out caves and tunnels for added depth and exploration.
Consider adding water features, such as rivers, lakes, and waterfalls, to bring your landscape to life. Utilize translucent blue bricks to simulate flowing water, and strategically place vegetation and foliage along the banks for a more naturalistic appearance.
Enhancing Playability and Interactivity
While aesthetics are important, don’t forget to prioritize playability and interactivity when designing your LEGO Minecraft creations.
Installing Functional Elements such as Doors and Trapdoors
To enhance the interactive experience of your LEGO Minecraft world, consider installing functional elements such as doors, trapdoors, and gates. These features not only add realism to your structures but also allow for engaging gameplay scenarios.
Experiment with different door designs, from wooden gates to iron portcullises, and incorporate trapdoors and levers to create secret passages and hidden compartments. Encourage imaginative play by designing puzzles and challenges that require players to interact with these elements to progress.
Designing Interactive Features like Redstone Mechanisms
For advanced builders looking to take their LEGO Minecraft creations to the next level, consider incorporating redstone mechanisms that add dynamic functionality to your builds.
From simple piston doors to complex redstone contraptions, the possibilities are endless. Challenge yourself to design interactive features that mimic the mechanics of the Minecraft game, such as automatic farms, TNT cannons, and minecart systems. Experiment with different configurations and circuitry to create custom redstone contraptions that amaze and inspire.
By embracing these building techniques and incorporating terrain, landscapes, and interactive elements into your LEGO Minecraft creations, you can create immersive worlds that capture the essence of the game and ignite the imagination of players young and old. So, gather your bricks and let your creativity soar as you embark on your LEGO Minecraft building adventure!

Personalizing Your LEGO Minecraft World
Customizing Minifigures and Characters
Personalizing your LEGO Minecraft experience goes beyond just building structures – it’s about infusing your world with unique characters and stories.
Mixing and Matching LEGO Minifigure Accessories
Give your LEGO Minecraft minifigures a personal touch by mixing and matching accessories to create one-of-a-kind characters. Whether it’s swapping out helmets, armor pieces, or tools, the possibilities are endless. Equip your minifigures with diamond swords, enchanted bows, or even elytra wings to reflect their unique roles and abilities in your Minecraft world.
Creating Unique Backstories for Characters
Every minifigure has a story to tell, so why not create unique backstories to add depth and personality to your characters? Is your brave adventurer on a quest to defeat the Ender Dragon, or is your mischievous Creeper plotting to wreak havoc on unsuspecting players? Let your imagination run wild as you weave tales of adventure, friendship, and triumph in your LEGO Minecraft world.
Adding Finishing Touches and Decorations
To truly make your LEGO Minecraft world your own, don’t forget to add those final touches and decorations that bring your creations to life.
Decorating Interior Spaces with Furniture and Decor
Transform bland interiors into cozy living spaces by adding furniture and decor to your LEGO Minecraft builds. Deck out your cabins with beds, tables, and chairs for a homey feel, or furnish your castle with thrones, banners, and treasure chests fit for royalty. Get creative with custom-built furnishings and accessories to personalize each space to your liking.
Incorporating Plants, Trees, and Vegetation
No Minecraft world is complete without lush vegetation and vibrant greenery. Incorporate trees, plants, and flowers into your LEGO Minecraft landscapes to add color and life to your builds. Build towering oak trees, lush gardens, and sprawling forests filled with life, and watch as your LEGO Minecraft world flourishes with natural beauty.
Showcasing Your Masterpiece
After hours of building and personalizing your LEGO Minecraft world, it’s time to showcase your masterpiece for all to see.
Setting Up Display Areas for Your LEGO Minecraft Builds
Create dedicated display areas to showcase your LEGO Minecraft creations in all their glory. Whether it’s a custom-built display shelf, a dedicated LEGO table, or a themed diorama, find a space where your builds can shine. Use lighting, signage, and props to enhance the presentation and draw attention to your most impressive creations.
Sharing Your Creations with Friends and Family
Don’t keep your LEGO Minecraft world all to yourself – share it with friends and family to inspire and delight others. Host a LEGO Minecraft building party, organize a showcase event, or simply share photos and videos of your builds online. Celebrate your creativity and inspire others to embark on their own LEGO Minecraft adventures.
By personalizing your LEGO Minecraft world with custom characters, decorations, and display areas, you can create a unique and immersive experience that reflects your creativity and imagination. So, gather your bricks and let your imagination run wild as you bring your LEGO Minecraft world to life!